
In today’s cloud-native era, organizations are shifting from traditional application deployments to containerized and automated pipelines that offer scalability, reliability, and continuous delivery. This guide provides a complete end-to-end walkthrough for deploying a PHP application on a Kubernetes cluster using Helm and Argo CD, following the GitOps methodology.
The setup integrates essential DevSecOps tools such as Jenkins, SonarQube, and Trivy to ensure automation, security scanning, and quality assurance at every stage of the CI/CD pipeline. Infrastructure provisioning is managed through Terraform, while Kubeadm helps create a production-ready Kubernetes cluster.
By following this document, you’ll learn how to:
- Automate infrastructure provisioning using Terraform
- Integrate CI/CD with Jenkins, Docker, and GitLab
- Perform static code and container image security scans
- Deploy PHP applications using Helm charts
- Implement continuous delivery and synchronization using Argo CD
This hands-on guide is ideal for DevOps engineers, system administrators, and cloud professionals looking to implement a secure, automated, and scalable GitOps-based deployment pipeline.
Architecture:-

Hello everyone, This document covers the end-to-end deployment of a PHP-APP on kubeadm using GitOps, with integrated DevSecOps best practices for security, automation, and monitoring. I Hope this detailed guide is useful.
CLICK HERE FOR GITLAB REPOSITORY
Steps:-
Step1 — Implement an infrastructure using terraform.
Step2 — Setup sonarqube-Jenkins trivy on ec2 server inside vpc1.
Step3 — Install Plugins like gitlab, docker, Sonarqube Scanner, and more in Jenkins.
step4 — Configure jenkins, integrate sonarqube, and add credentials.
Step5 — setup k8s server as jenkins agent and connecting them.
Step6 — Create a Pipeline Project in Jenkins using a Declarative Pipeline
step7 — setup mysql database on second server inside private Subnet
Step8 — Create Kubeadm cluster
Step9 — Install Helm for Kubernetes deployments
Step10 — Install ArgoCD using Helm
Step11 — Access the php-app on the Browser.
Step-by-Step Deployment
Step1:- Implement an infrastructure using Terraform.
1A: Required infrastructure servers and components.
we need to create following

  a.  2 vpcs named phpvpc1 and phpvpc2

   b. inside vpc 1

      we need three  ec2 instance first is bassion host which can be assessed a mysql server

      second is for mysql server which is inside the private subnet

       third will be the server which runs the jenkinsmaster,sonarqube,trivy

  c. Inside vpc 2

      we need two  ec2 instance for kubernetes master and kubernetes worker node.
you can get infrastructure code inside terraform directory of the below url
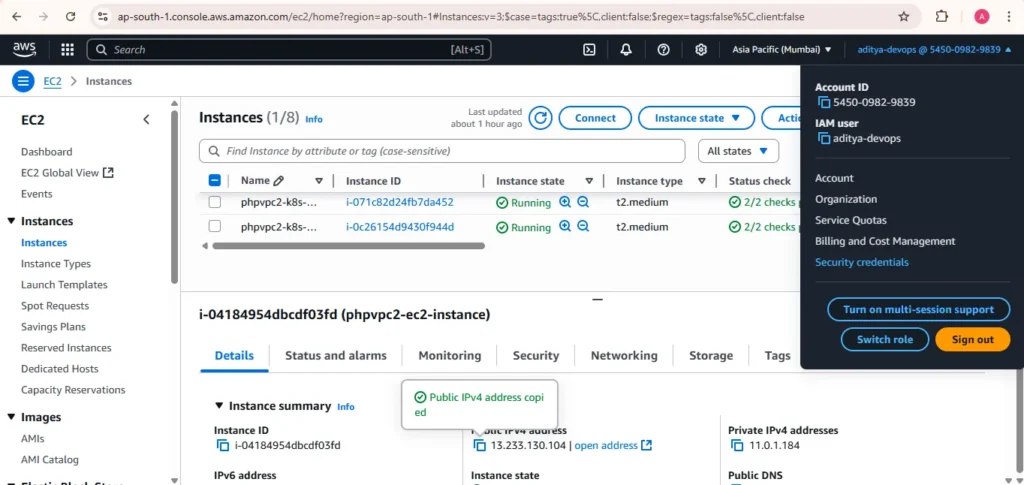
1B: getting accesss keys and secret keys for server.
- Go to accounts and click on security credentials
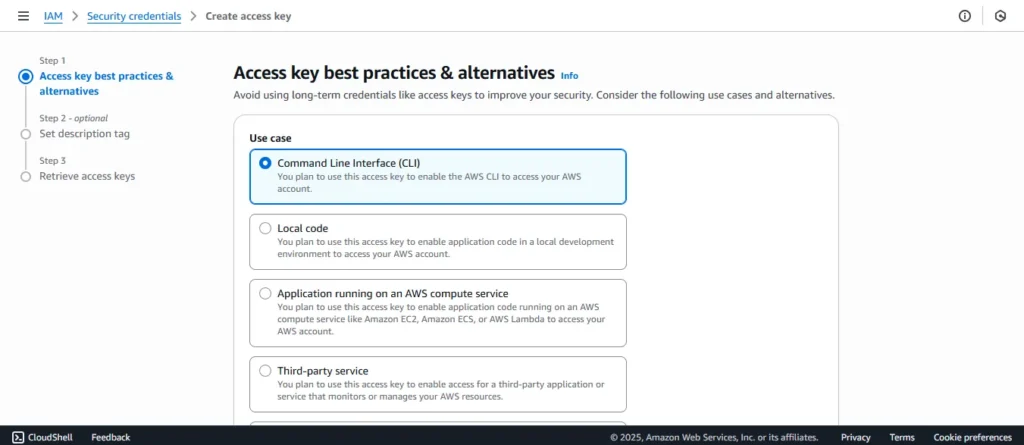
2. Scroll down until you get the option create Access keys
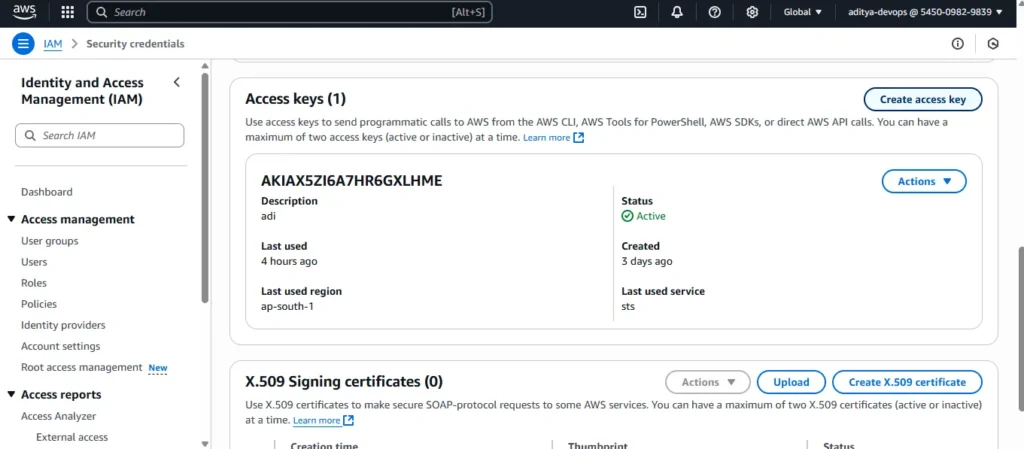
3.choose your use case give description and gain your access keys
Step2:- Setup sonarqube-Jenkins trivy on ec2 server inside vpc1
specifications:- t2.large with 20 gb volume
Connect to the instance via SSH:
ssh -i your-key.pem ubuntu@your-ec2-ip
for creating Kubernetes cluster we need below tools to be installed and confidured, So lets start installing one by one
2A: Install Java
#Installation of JAVA
sudo apt update
sudo apt install fontconfig openjdk-21-jre
java -version
2B: Install Jenkins.
Run below commands to Install Jenkins
#Installation of JAVA
sudo apt update
sudo apt install fontconfig openjdk-17-jre
java -version

#Installation of jenkins
sudo wget -O /usr/share/keyrings/jenkins-keyring.asc \\
  <https://pkg.jenkins.io/debian-stable/jenkins.io-2023.key>
echo "deb [signed-by=/usr/share/keyrings/jenkins-keyring.asc]" \\
  <https://pkg.jenkins.io/debian-stable> binary/ | sudo tee \\
  /etc/apt/sources.list.d/jenkins.list > /dev/null

# Update the packages
sudo apt-get update
sudo apt-get install jenkins
jenkins --version
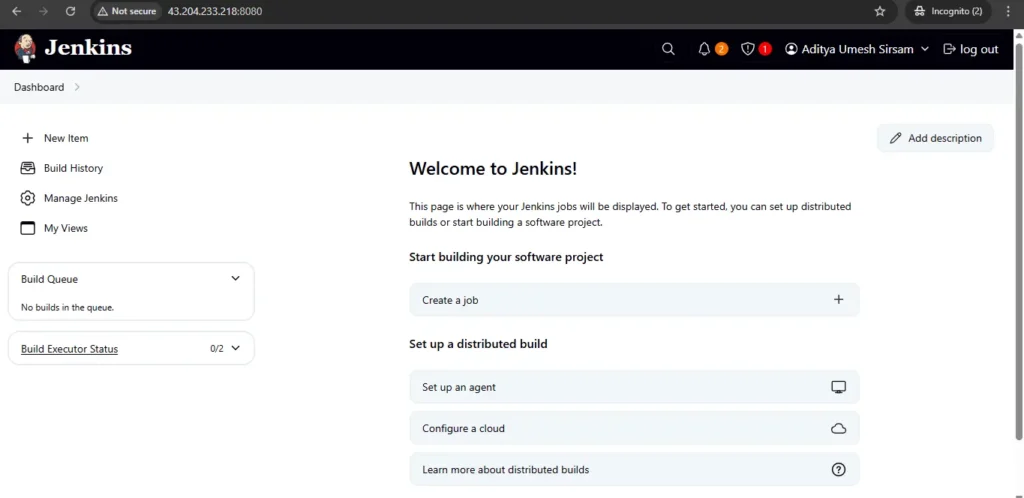
Once Jenkins is installed, now grab your Public IP Address and paste it to your browser like below.
<EC2 Public_IP_Address:8080>
sudo cat /var/lib/jenkins/secrets/initialAdminPassword
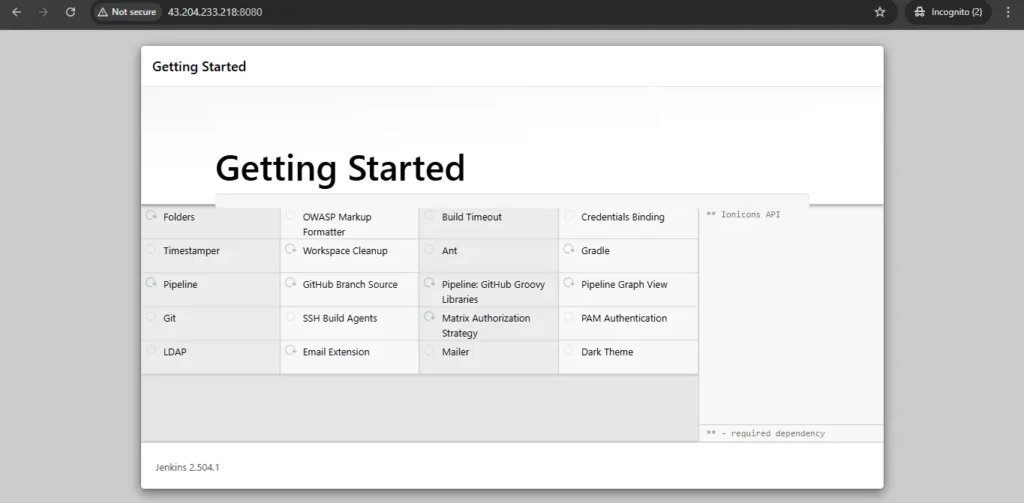
Unlock Jenkins using an administrative password and install the suggested plugins.
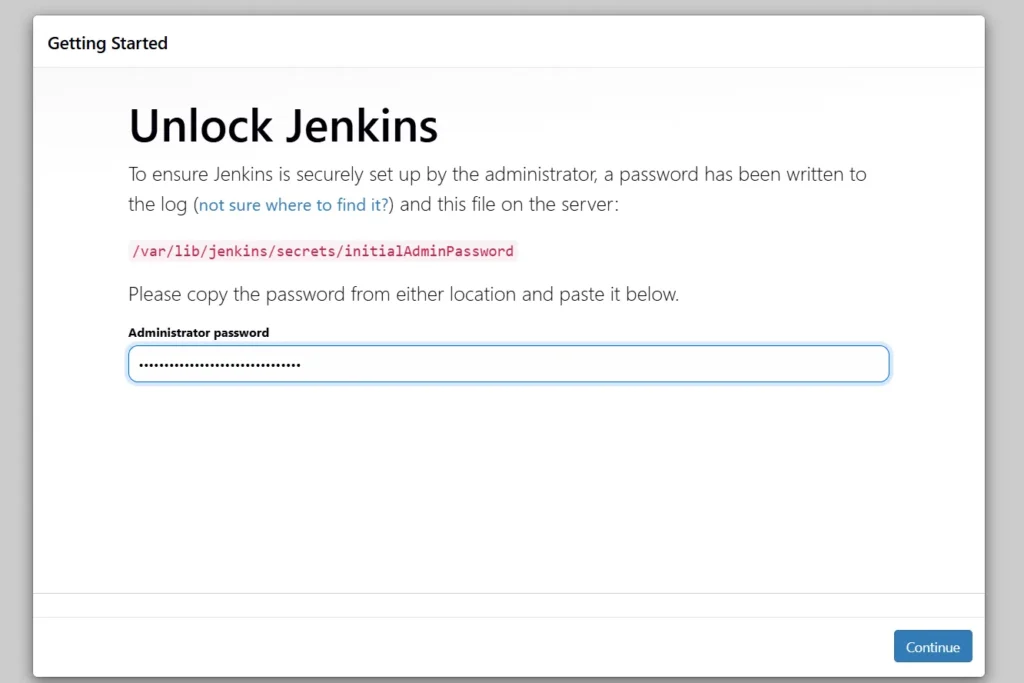

Jenkins will now get install all the libraries.
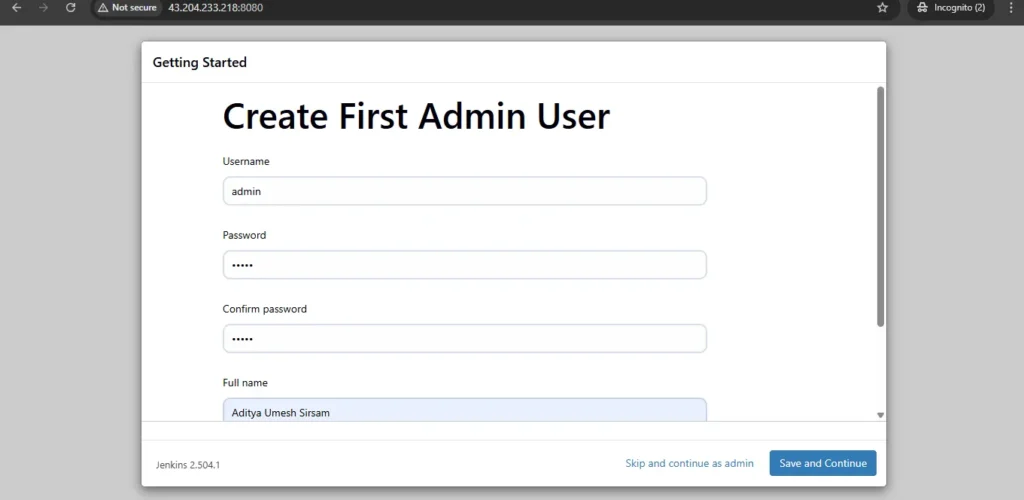
Create a user click on save and continue.
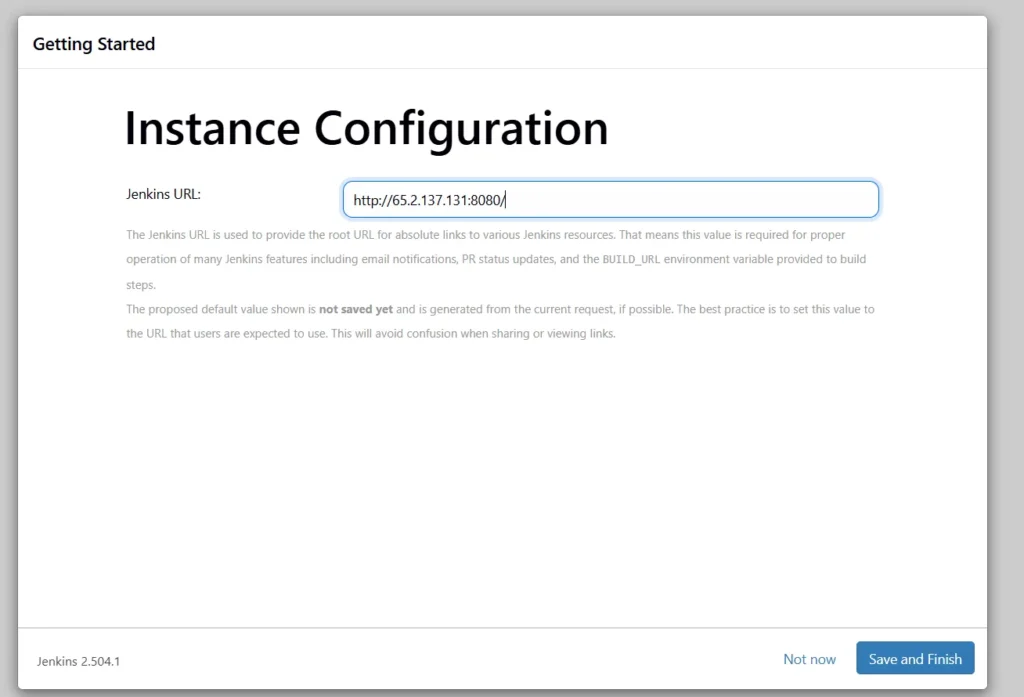
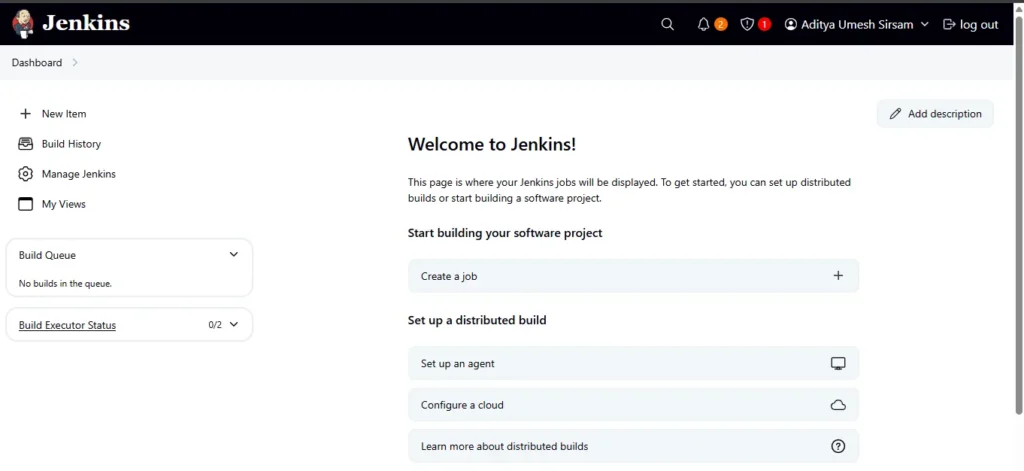
Jenkins Getting Started Screen.
2C: Install Docker.
Run below command to install docker.
# Run the following command to uninstall all conflicting packages:
for pkg in docker.io docker-doc docker-compose docker-compose-v2 podman-docker containerd runc; do sudo apt-get remove $pkg; done

# Add Docker's official GPG key:
sudo apt-get update
sudo apt-get install ca-certificates curl
sudo install -m 0755 -d /etc/apt/keyrings
sudo curl -fsSL <https://download.docker.com/linux/ubuntu/gpg> -o /etc/apt/keyrings/docker.asc
sudo chmod a+r /etc/apt/keyrings/docker.asc

# Add the repository to Apt sources:
echo \\
  "deb [arch=$(dpkg --print-architecture) signed-by=/etc/apt/keyrings/docker.asc] <https://download.docker.com/linux/ubuntu> \\
  $(. /etc/os-release && echo "${UBUNTU_CODENAME:-$VERSION_CODENAME}") stable" | \\
  sudo tee /etc/apt/sources.list.d/docker.list > /dev/null
sudo apt-get update

# To install the latest version, run:
sudo apt-get install docker-ce docker-ce-cli containerd.io docker-buildx-plugin docker-compose-plugin
docker --version
sudo usermod -aG docker $USER && newgrp docker  #my case is ubuntu
After the docker installation, we will create a sonarqube container.
docker run -d --name sonar -p 9000:9000 sonarqube:lts-community
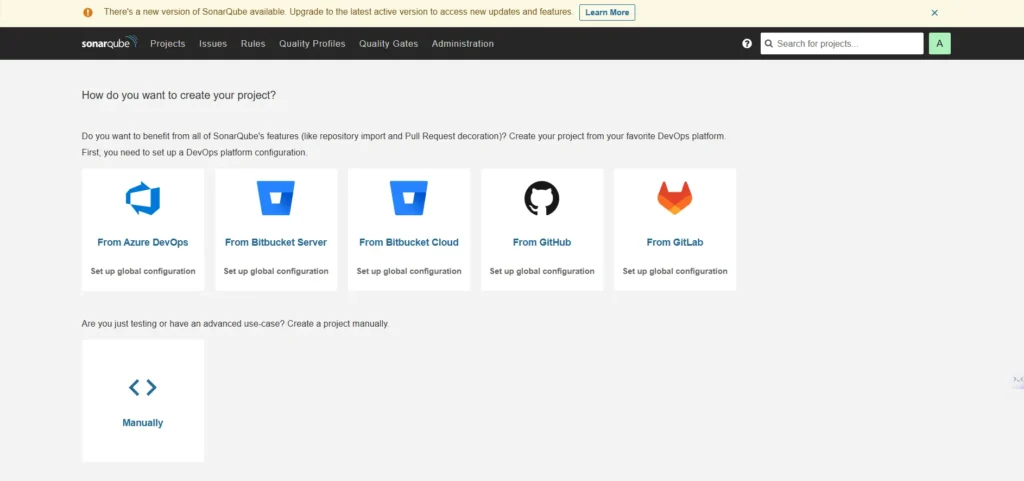
Now our sonarqube is up and running, just take the ip adress and paste in browser as below:
<EC2 Public IP Address:9000>

Enter username and password, click on login and change password
username admin
password admin
Update New password, This is Sonar Dashboard.
2D: Install trivy
#Add repository to /etc/apt/sources.list.d
sudo apt-get install wget apt-transport-https gnupg lsb-release
wget -qO - <https://aquasecurity.github.io/trivy-repo/deb/public.key> | sudo apt-key add -
echo deb <https://aquasecurity.github.io/trivy-repo/deb> $(lsb_release -sc) main | sudo tee -a /etc/apt/sources.list.d/trivy.list
sudo apt-get update
sudo apt-get install trivy
Step 3 — Install Plugins like gitlab, docker, Sonarqube Scanner, and more in Jenkins.
Install Plugins
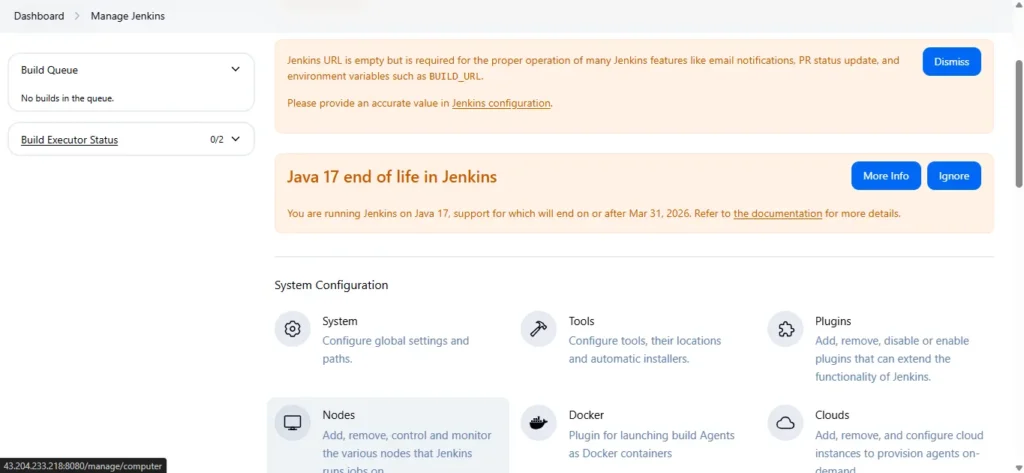
Go to Manage Jenkins →Plugins → Available Plugins →
Install below plugins (Install with restart)
→ GitLab, Generic WebHook Trigger, Docker, Docker Commons, Docker Pipeline, Docker API, docker-build-step, stageview pipeline, prometheus metrics, email extention templates, SonarQube Scanner, Kubernetes
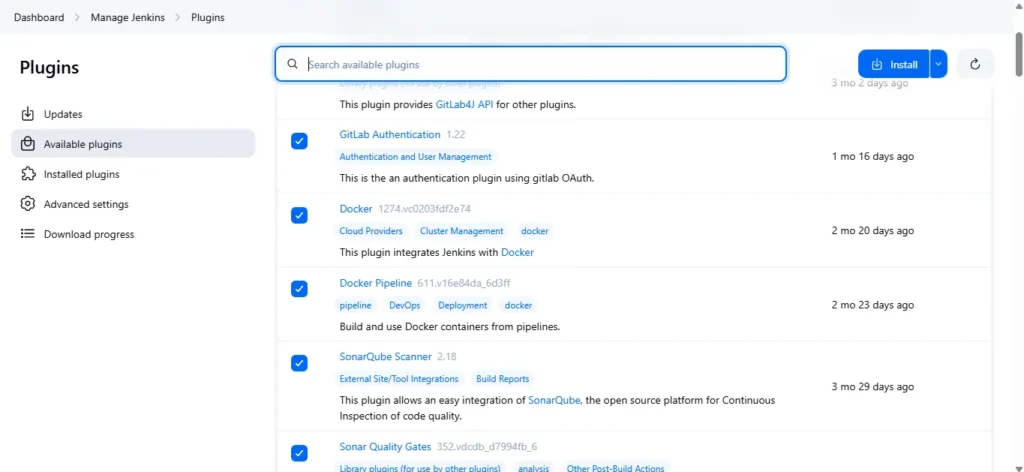
After selecting all available plugin click on install.
step 4 — Configure jenkins, integrate sonarqube, and add credentials.
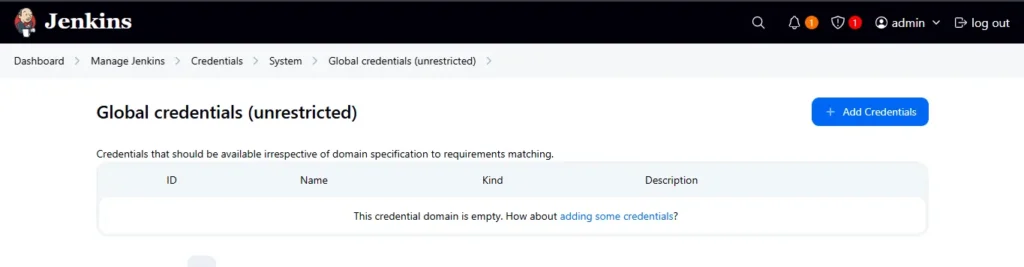
4a- GitLab credentials setup
Now go to jenkins dashboard ➡️manage jenkins ➡️credentials ➡️system ➡️global credentials ➡️add credentials. Use username and access tocken.
4b- Dockerhub credentials setup
Now go to jenkins dashboard ➡️manage jenkins ➡️credentials ➡️system ➡️global credentials ➡️add credentials. Use username and access tocken.
4c- SonarQube credentials setup
Now go to jenkins dashboard ➡️manage jenkins ➡️credentials ➡️system ➡️global credentials ➡️add credentials. Use username and access tocken.
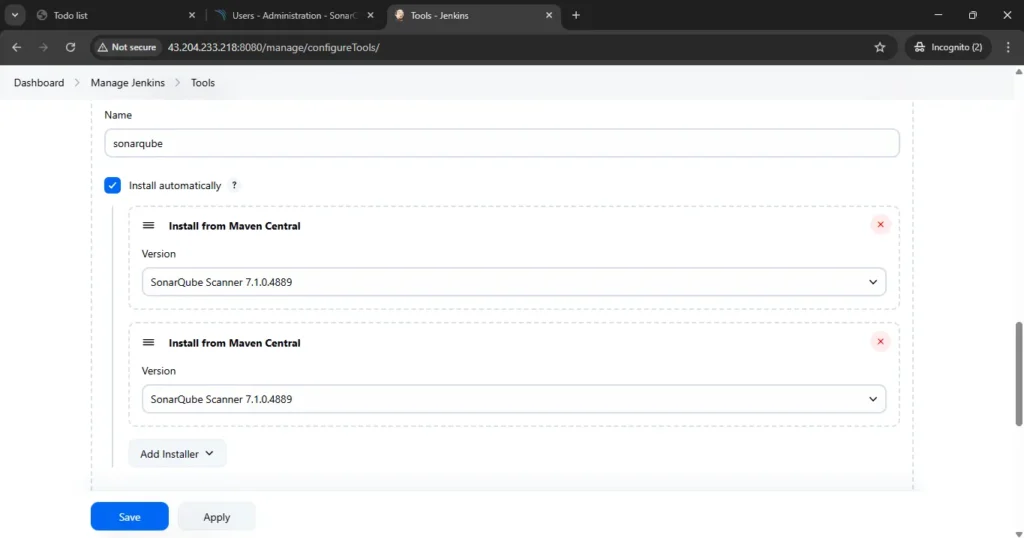
4d — Configure SonarQube in Global Tool Configuration
Go to Manage Jenkins → Tools → Install SonarQube → Click on Save
Step 5 — setup k8s server as jenkins agent and connecting them
5a- Go to the k8s server using ssh:
SSH into the instance using the .pem file:
ssh -i "your-key.pem" ubuntu@your-k8s-ec2-public-ip
Install Java on the Agent:
sudo apt update
sudo apt install openjdk-21-jdk -y
java -version
5b- Establish SSH Connection Between Jenkins and k8s
Go to jenkins server and generate SSH Key Pair
ssh-keygen
Save the key pair in the default location (~/.ssh/id_rsa).
Copy the Public Key to the k8s server
You can copy the public-key and paste it into the k8s server >.ssh>authorized_key
Test the SSH connection from the Jenkins server to the k8s server:
ssh -i <private_key> ubuntu@your-agent-ec2-public-ip
you should be able to SSH into the agent without being prompted for a password.
5c- Add the k8s to the Jenkins
Access Jenkins Dashboard:
Go to the Jenkins master web interface.
Navigate to Manage Jenkins > Manage Nodes and Clouds > New Node.

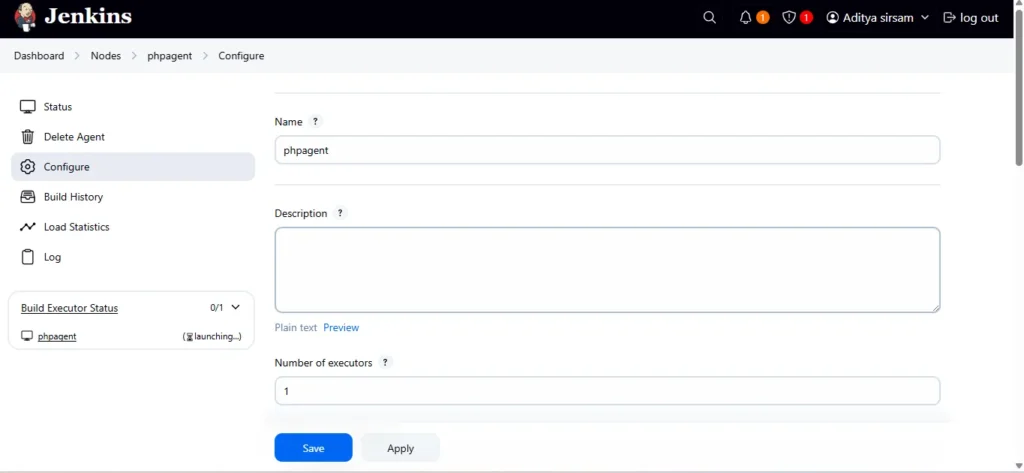
Provide a name for the agent, select Permanent Agent, and click OK.

Configure the node:
Number of Executors: Set as required.
Remote root directory: Set this to /home/ubuntu (or another directory on the agent).
Labels: Assign a label (e.g., k8s).
Launch Method: Choose Launch agent via SSH.

Host: Enter the public IP of the agent EC2 instance.
Credentials: Add the SSH credentials you created earlier.(username and private_key)
Host Key Verification Strategy: Choose a strategy (e.g., Non-Verifying Verification Strategy).
Click Save.

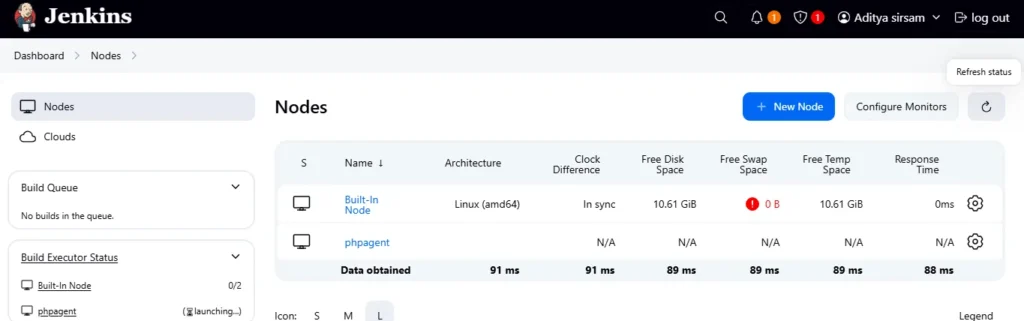
The Jenkins master will attempt to connect to the agent. Check the status under Manage Jenkins ➡️ Manage Nodes and Clouds.
The agent should show as Connected.
Step 6 — Create a Pipeline Project in Jenkins using a Declarative Pipeline
Now we will create a jenkins complete pipeline for deploying our application.
Go to jenkins dashboard and click on new item, give a name for your pipeline and select pipeline option and then click ok.
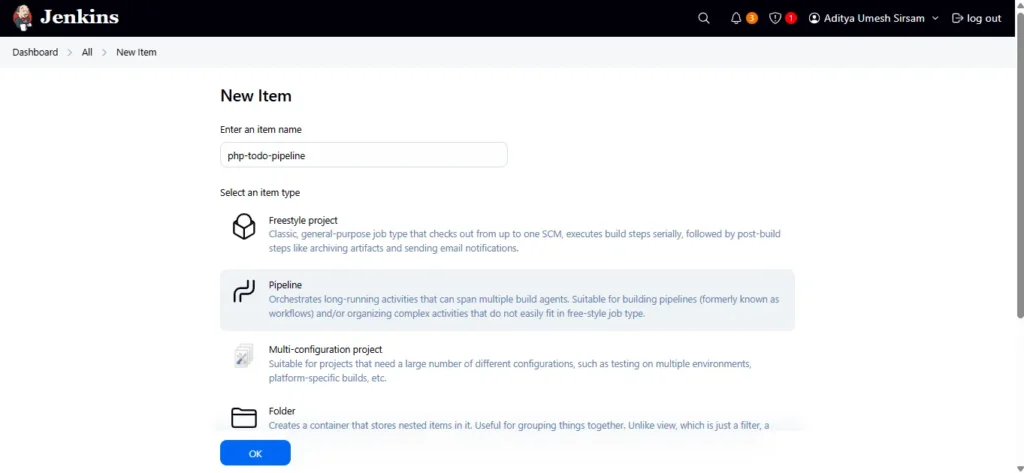
Now add below pipeline into script
pipeline {
   agent { label 'phpagent' }

  environment {
    DOCKER_IMAGE = "aadityasirsam/phpapp-devops-project1_php12:${BUILD_NUMBER}"
  }

  stages {
    stage('Checkout') {
      steps {
        git branch: 'staging', url: '<https://gitlab.com/Adityasirsam/php-todo-app.git>'
      }
    }

    stage('SonarQube Code Scan') {
      steps {
        withSonarQubeEnv('sonar') {
          sh '''
            sonar-scanner \\
              -Dsonar.projectKey=php-todo-app \\
              -Dsonar.projectName=php-todo-app \\
              -Dsonar.sources=. \\
              -Dsonar.language=php
          '''
        }
      }
    }

    stage('Docker Build') {
      steps {
        sh 'docker build -t ${DOCKER_IMAGE} .'
      }
    }

    stage('Trivy Scan') {
      steps {
        sh 'trivy image ${DOCKER_IMAGE}'
      }
    }

    stage('Push to Registry') {
      steps {
        withCredentials([usernamePassword(credentialsId: 'dockerhub-creds', usernameVariable: 'DOCKER_USER', passwordVariable: 'DOCKER_PASS')]) {
          sh '''
            echo "${DOCKER_PASS}" | docker login -u "${DOCKER_USER}" --password-stdin
            docker push ${DOCKER_IMAGE}
          '''
        }
      }
    }

    stage('List Files') {
      steps {
        sh 'ls -R'
      }
    }

    stage('Update Helm Values in GitLab for ArgoCD') {
      steps {
        withCredentials([usernamePassword(credentialsId: 'gitlab-creds', usernameVariable: 'GIT_USER', passwordVariable: 'GIT_PASS')]) {
          script {
            sh """
              sed -i 's|image:.*|image: "${DOCKER_IMAGE}"|' php-todo-chart/values.yaml

              git config --global user.email "aditya.sirsam@gmail.com
                            git config --global user.name "sirsamaditya004"

              git remote set-url origin <https://${GIT_USER}:${GIT_PASS}@gitlab.com/sirsamaditya004/phpapp-devops-project1.git>

              git add php-todo-chart/values.yaml
              git commit -m "Update staging image to ${DOCKER_IMAGE} [ci skip]" || echo "No changes to commit"
              git push origin staging
            """
          }
        }
      }
    }

    stage('Notify') {
      steps {
        echo "✅ Build and Deploy to Staging Successful. ArgoCD will handle the sync."
      }
    }
  }

  post {
    failure {
      echo '❌ Pipeline Failed'
    }
  }
}
step 7 — setup mysql database on second server inside private subnet.
7a- Connect to your mysql server but with private ip
ssh -i <your-key.pem> ubuntu@<private-ip>
Now run below command to install and configure mysql database
sudo apt update
sudo apt install mysql-server -y
sudo systemctl restart mysql
sudo mysql_secure_installation
7b- Create a new user and database
CREATE DATABASE todo;
CREATE USER 'todo_user' IDENTIFIED BY 'admin';
GRANT ALL PRIVILEGES ON todo.* TO 'admin';
USE DATABASE todo;
FLUSH PRIVILEGES;
EXIT;
CREATE TABLE `task_table` (
  `id` int(5) NOT NULL,
  `task_name` varchar(300) NOT NULL,
  `added_tiime` timestamp NOT NULL DEFAULT CURRENT_TIMESTAMP
) ENGINE=InnoDB DEFAULT CHARSET=latin1;

--
-- Indexes for dumped tables
--

--
-- Indexes for table `task_table`
--
ALTER TABLE `task_table`
  ADD PRIMARY KEY (`id`);

--
-- AUTO_INCREMENT for dumped tables
--

--
-- AUTO_INCREMENT for table `task_table`
--
ALTER TABLE `task_table`
  MODIFY `id` int(5) NOT NULL AUTO_INCREMENT, AUTO_INCREMENT=31;
COMMIT;
7c- Allow Remote Access
Edit MySQL config file:
sudo vim /etc/mysql/mysql.conf.d/mysqld.c
Change bind-address = 127.0.0.1 to bind-address = 0.0.0.0
Restart MySQL
sudo systemctl restart mysql
Step 8 — Create Kubernetes cluster using Kubeadm
for creating Kubernetes cluster we need below tools to be installed and confidured, So lets start installing one by one
Step1: On Master Node Only
install Containerd

sudo wget <https://raw.githubusercontent.com/lerndevops/labs/master/scripts/installContainerd.sh> -P /tmp
sudo bash /tmp/installContainerd.sh
sudo systemctl restart containerd.service

## Install kubeadm,kubelet,kubectl

sudo wget <https://raw.githubusercontent.com/lerndevops/labs/master/scripts/installK8S.sh> -P /tmp
sudo bash /tmp/installK8S.sh

## Initialize kubernetes Master Node

sudo kubeadm init --ignore-preflight-errors=all

sudo mkdir -p $HOME/.kube
sudo cp -i /etc/kubernetes/admin.conf $HOME/.kube/config
sudo chown $(id -u):$(id -g) $HOME/.kube/config

## install networking driver -- Weave/flannel/canal/calico etc...

## below installs calico networking driver

kubectl apply -f <https://raw.githubusercontent.com/projectcalico/calico/v3.24.1/manifests/calico.yaml>

# Validate: kubectl get nodes
Step 2: On All Worker Nodes
## Install Containerd
sudo wget <https://raw.githubusercontent.com/lerndevops/labs/master/scripts/installContainerd.sh> -P /tmp
sudo bash /tmp/installContainerd.sh
sudo systemctl restart containerd.service

## Install kubeadm,kubelet,kubectl
sudo wget <https://raw.githubusercontent.com/lerndevops/labs/master/scripts/installK8S.sh> -P /tmp
sudo bash /tmp/installK8S.sh

## Run Below on Master Node to get join token

    kubeadm token create --print-join-command


    copy the kubeadm join token from master & run it on all nodes

    Ex: kubeadm join 10.128.15.231:6443 --token mks3y2.v03tyyru0gy12mbt \\
           --discovery-token-ca-cert-hash sha256:3de23d42c7002be0893339fbe558ee75e14399e11f22e3f0b34351077b7c4b56
Step 9 — Install Helm for kubernetes deployments.
Now we will install helm for simplifying deployment process and it also reduce deployment time. For installing helm run below command on k8s server.
#!/bin/bash
curl <https://baltocdn.com/helm/signing.asc> | gpg --dearmor | sudo tee /usr/share/keyrings/helm.gpg > /dev/null
sudo apt-get install apt-transport-https --yes
echo "deb [arch=$(dpkg --print-architecture) signed-by=/usr/share/keyrings/helm.gpg] <https://baltocdn.com/helm/stable/debian/> all main" | sudo tee /etc/apt/sources.list.d/helm-stable-debian.list
sudo apt-get update
sudo apt-get install helm
Step 10 — Install Argocd for kubernetes
Now we will install ArgoCD using Kubectl to automatically deploy our application.
Run below command to install ArgoCD and access its UI.
- Create a namespace for Argo CD:
kubectl create namespace argocd - Apply the Argo CD manifest:
kubectl apply -n argocd -f <https://raw.githubusercontent.com/argoproj/argo-cd/stable/manifests/install.yaml> - Check services in Argo CD namespace:
kubectl get svc -n argocd - Expose Argo CD server using NodePort:
kubectl patch svc argocd-server -n argocd -p '{"spec": {"type": "NodePort"}}' - Forward ports to access Argo CD server:
kubectl port-forward -n argocd service/argocd-server 8443:443 --address=0.0.0.0 &
Now go to your browser and paste you public_ip following port number 8082 and you will see login page of ArgoCD. Username is admin and for password run below command to see initial password.
kubectl -n default get secret argocd-initial-admin-secret -o jsonpath="{.data.password}" | base64 -d


Our gitlab repo is private so we need to add our repo with credentials in argocd first Now go to settings repositories and add repo now provide url, username and password of gitlab.


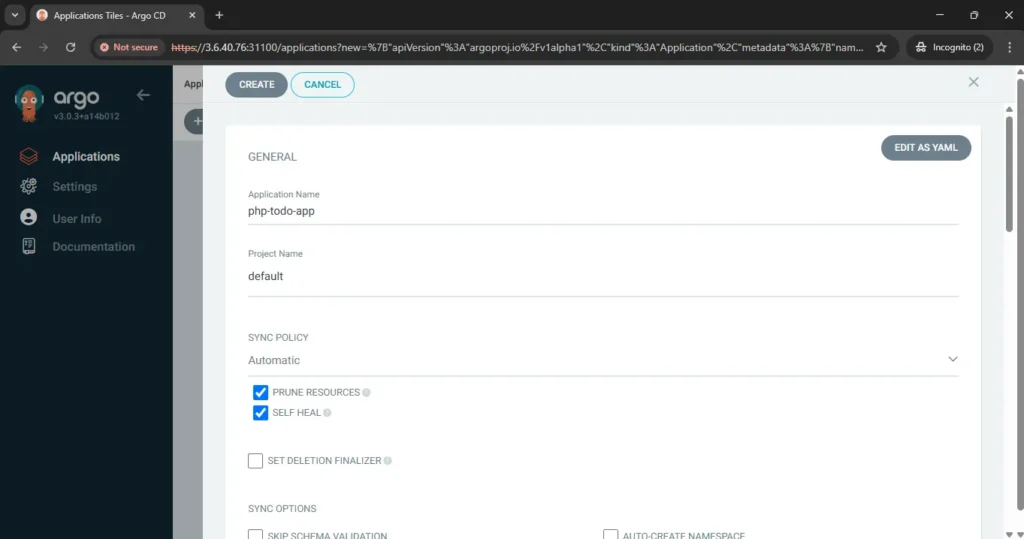
now go to application create application and fill all required details like name of app, gitlab repo url, path of menifest file, kubernetes cluster url and at the end namespace where you want to deploy your application. your application will be deployed like below.

Now push any changes into devlopement branch and create a merge request to staging branch. Once dev branch successfully merged into staging your webhook will trigger your pipeline and you will see below stages.


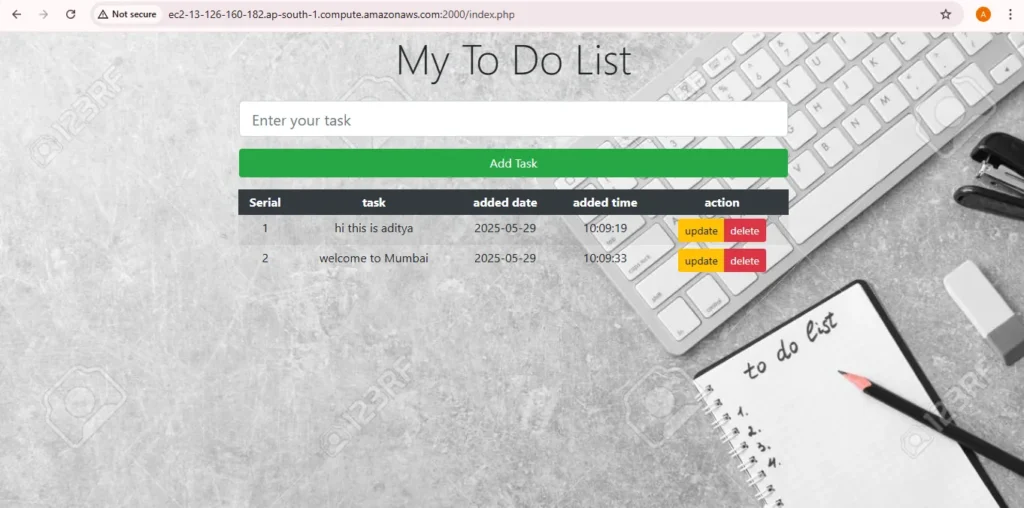
Step 11 — Access the PHP-APP on the Browser
Now Take load balancer DNS and paste on browser to access the application. on port 2000
Conclusion
By the end of this setup, you’ll have a fully automated CI/CD pipeline that deploys a PHP application to a Kubernetes cluster through Argo CD and Helm, following modern DevSecOps best practices.
From provisioning cloud infrastructure with Terraform, scanning source code via SonarQube, container image analysis through Trivy, to deploying containerized workloads using Helm charts and Argo CD, each step in this workflow ensures security, automation, and reliability.
This architecture not only simplifies deployments but also enables continuous monitoring, faster rollouts, and improved collaboration between development and operations teams.
With this foundation, you can easily extend the pipeline for multi-environment deployments, auto-scaling, and advanced monitoring integrations—making your PHP application deployment fully production-grade and future-ready.
