
In this beginner’s guide, we will walk you through the steps to set up Jenkins agent nodes using SSH (Password and SSH key-based authentication).
One of the best features of Jenkins is its distributed nature. You can configure multiple build slaves for better segregation and scalability.
For example, you might want to test a cross-platform code base with a different operating system. In this case, you can set up different Jenkins agents or slaves and run the job against them.
Also, a Jenkins distributed architecture will reduce the load on the master server.
Setup Jenkins Agents/Slaves on Jenkins
In this guide, I will walk you through the steps for setting up the Jenkins agent node using password and SSH keys.
There are two ways of authentication for setting up the Linux Jenkins slave agents.
1. Using Username and Password
This is the simplest method for beginners.
In this method, Jenkins connects to the agent machine using the system username and password. When you add a new node in Jenkins, you just need to provide:
- The IP address or hostname of the agent machine
- The username (for example,
ubuntuorjenkins) - The password for that user
Once you save this setup, Jenkins will log in to the agent using SSH (just like when you log in remotely with a username and password) and start the connection. This method is easy but less secure because it involves storing passwords.
2. Using SSH Keys
The SSH key method is more secure and recommended for production environments.
Here, instead of using a password, Jenkins uses an SSH key pair to connect to the agent.
- The Jenkins master holds the private key.
- The agent machine stores the public key inside the
~/.ssh/authorized_keysfile.
When Jenkins tries to connect, the master proves its identity using the private key, and the agent verifies it using the public key — no password is needed. This makes the connection secure and automated, which is perfect for CI/CD systems that run frequently.
Jenkins Agent Prerequisites
For Jenkins agent configuration, you need to have the following in the slave machines before adding it to the master.
- Java should be installed on your agent server.
- A valid Linux user account that can perform the required tasks on the agent server. (preferably a sudo user if your job requires elevated privileges)
- Git should be installed as most build job requires git-specific actions.
Let’s get started with the Jenkins agent node configuration.
Create a Jenkins User
It is recommended to execute all Jenkins jobs as a Jenkins user on the Jenkins agent nodes.
Note: I am using Ubuntu machine as a slave. The steps will be same for other Linux flavours as well
Step1: Create a Jenkins user and a password using the following command.
sudo adduser ubuntu --gecos ""Type a password when prompted. The above commands should create a user and a home directory named Jenkins under “/home”.
Step2: Now, log in as a Jenkins user.
su ubuntuStep3: Create a “jenkins-agent” directory under /home/jenkins.
mkdir /home/ubuntu/jenkins-agentSetting up Jenkins Agents/Slaves using username and password
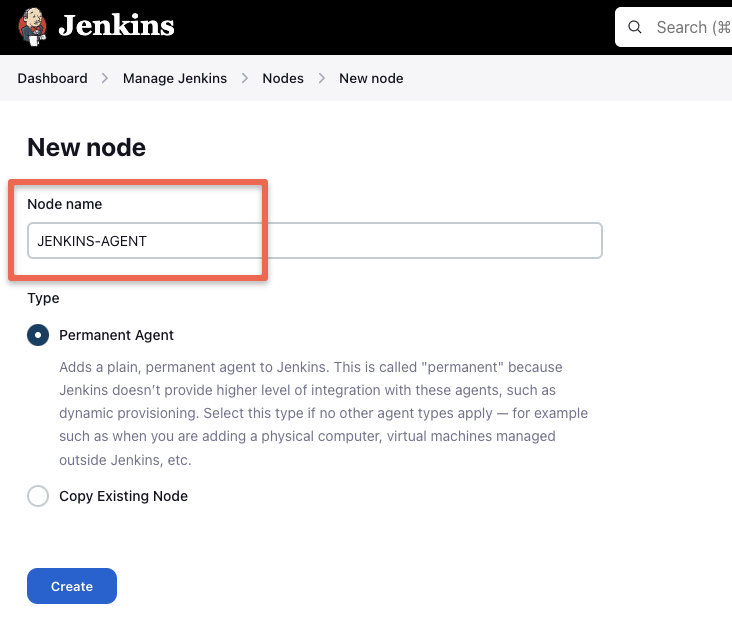
Step1: Head over to Jenkins dashboard –> Manage Jenkins –> Nodes

Step2: Select the new node option.

Step3: Give it a name, select the “permanent agent” option and click Create.
Step4: Enter the details as shown in the image below and save them.
For the credential box, click the add button and enter the agent server username and password. In our case, the username is jenkins and password is the one you created when you created the Jenkins user on the agent server. This credential will be used by the Jenkins controller to connect to the agent.
To know more about each option, click the question mark on the right side of each text box.

Step4: Once you click save, the controller will automatically connect to the agent server and configure it as an agent.
If the agent is not connected automatically,
By following the same steps, you can add multiple servers as Jenkins agent nodes.
Setting up Jenkins Agent Using SSH keys
Step1: Log in to the slave server as a jenkins user.
Step2: Create a .ssh directory and cd into the directory.
mkdir ~/.ssh && cd ~/.sshStep3: Create an ssh key pair using the following command. Press enter for all the defaults when prompted.
ssh-keygen -t rsa -C "The access key for Jenkins slaves"Step4: Add the public to authorized_keys file using the following command.
cat id_rsa.pub >> ~/.ssh/authorized_keysStep5: Now, copy the contents of the private key to the clipboard.
cat id_rsaAdd the SSH Private Key to Jenkins Credentials
Step 1: Go to Jenkins dashboard –> credentials –> Global credentials –> add credentials, select and enter all the credentials as shown below and click ok.

Connect SSH Jenkins Agent to Master Node
Step1: Follow the first 3 steps we did for slave configuration using username and password.
Step2: Follow all the configurations in the 4th step as well. But this time, for the launch method, select the credential you created with the SSH key.
Test Jenkins Agent/Slave Nodes
To test the Jenkins agent node or slave, create a sample project and select the option as shown below.

You need to select the node using the label option. If you start to type the letter the node list will show up.
You can then run a simple, shell script operation to check if the Jenkins agent is executing the job.
Conclusion
In this guide, you learned how to set up Jenkins agents (slaves) on Linux systems using both password-based and SSH key-based authentication methods.
We started by understanding the importance of a distributed Jenkins architecture, which helps improve performance, scalability, and workload distribution across multiple environments. You also saw how to create a dedicated Jenkins user on the agent machine, configure SSH connectivity, and securely establish communication between the Jenkins master and the agent nodes.
While the username and password approach is simpler for beginners, using SSH keys is the recommended and more secure method, especially for production environments where security and automation are crucial.
By following these steps, you can now:
- Efficiently add multiple Jenkins agents to balance workloads.
- Use secure SSH key-based authentication for automation.
- Verify and run jobs on specific nodes using labels.
With this setup in place, your Jenkins infrastructure becomes more scalable, secure, and maintainable, ready to handle enterprise-grade CI/CD pipelines.
