Introduction
Cloud infrastructure makes deployment simple, but reliability depends on how well you protect your resources. An EC2 instance without a backup strategy remains vulnerable to failures, accidental deletions, or unexpected issues. AWS Backup provides a centralized way to automate and manage backups, making it an essential part of any cloud setup.
This guide walks through launching an EC2 instance, deploying a sample application, and configuring automated backups using AWS Backup.
Launching an EC2 Instance
Begin by opening the AWS Management Console and navigating to Amazon EC2. Start the instance launch process and choose Ubuntu Server 24.04 as the machine image. This distribution works well for lightweight deployments and supports common web servers.
Select a t3.micro instance type if you want to stay within the free tier. During configuration, create or choose a key pair. This key enables secure access to your instance, so it must be stored carefully.
Security settings play a crucial role here. Allow SSH access on port 22 and HTTP traffic on port 80. These rules ensure you can connect to the instance and access the web server later.
After reviewing the configuration, launch the instance and wait until it reaches the running state. Once active, the instance is ready for use.
Installing a Sample Application Using NGINX
With the instance running, establish a connection using SSH. Use the key pair along with the public IP address assigned to the instance.
Once connected, update the system packages to ensure everything is up to date. After that, install NGINX, a lightweight and widely used web server.
Start the NGINX service and enable it to run automatically on system boot. This step ensures the application remains available even after a restart.
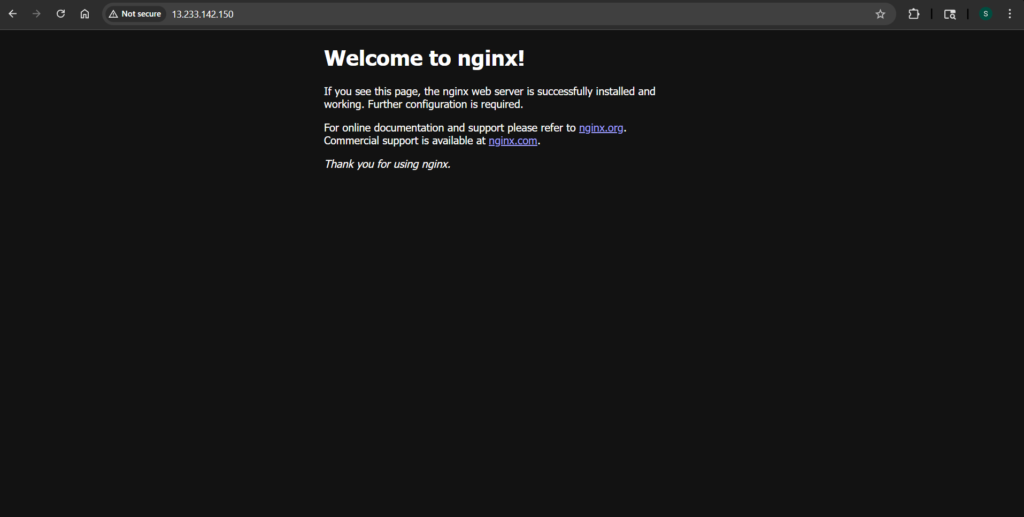
Open a browser and enter the public IP address of the EC2 instance. A successful setup displays the default NGINX welcome page, confirming that the web server is running correctly.
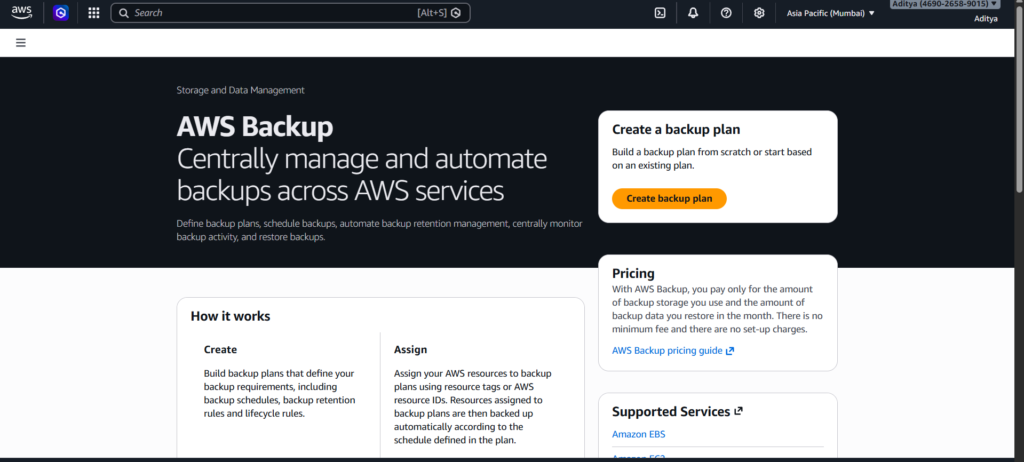
Configuring AWS Backup
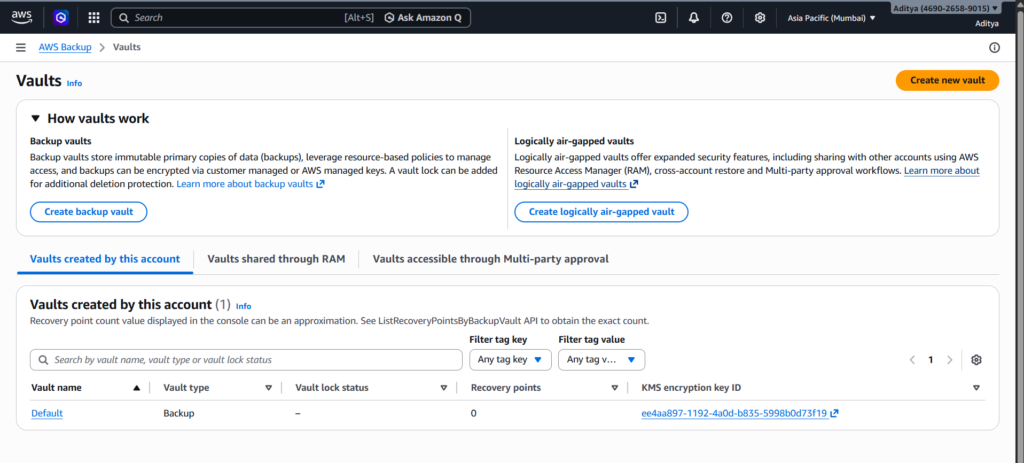
Move to the AWS Backup service in the console to set up protection for the instance. Before creating a backup plan, you need a backup vault. This vault acts as a secure storage location for your backups.
Create a new vault and assign a clear, descriptive name. Once the vault is ready, proceed to create a backup plan.
Instead of using predefined templates, build a new plan to understand each component. Provide a name for the plan and define a backup rule. Set the frequency to daily so backups occur automatically. Configure the retention period to seven days, which determines how long AWS stores each backup before deleting it.
Select the vault you created earlier as the destination for these backups.
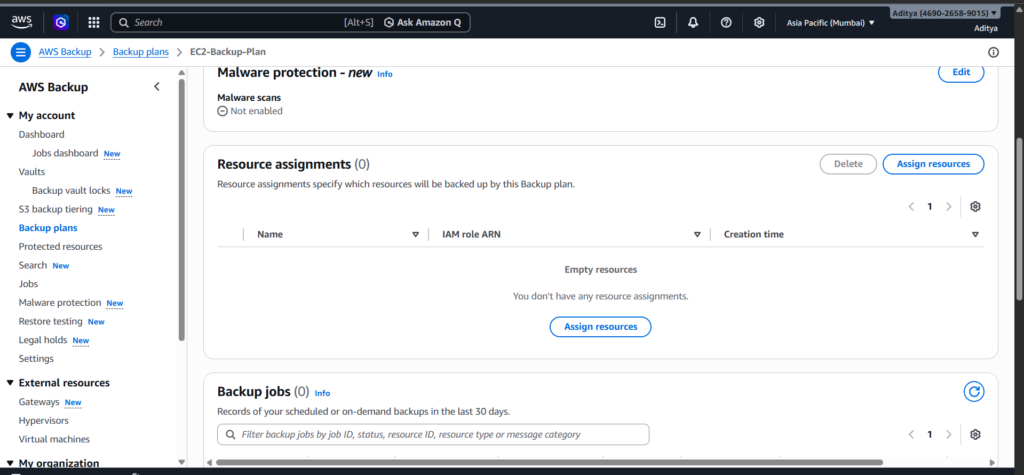
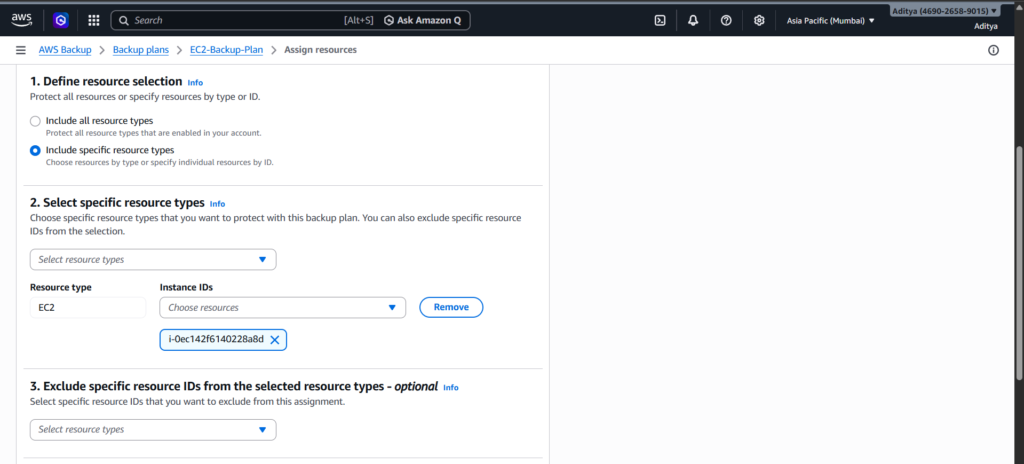
Assigning Resources to the Backup Plan
A backup plan requires resources to protect. Choose EC2 as the resource type and select the instance created earlier.
AWS may request an IAM role during this step. The default role works well for most use cases and provides the necessary permissions for backup operations.
After assignment, the backup plan becomes active and begins managing backups for the selected instance.
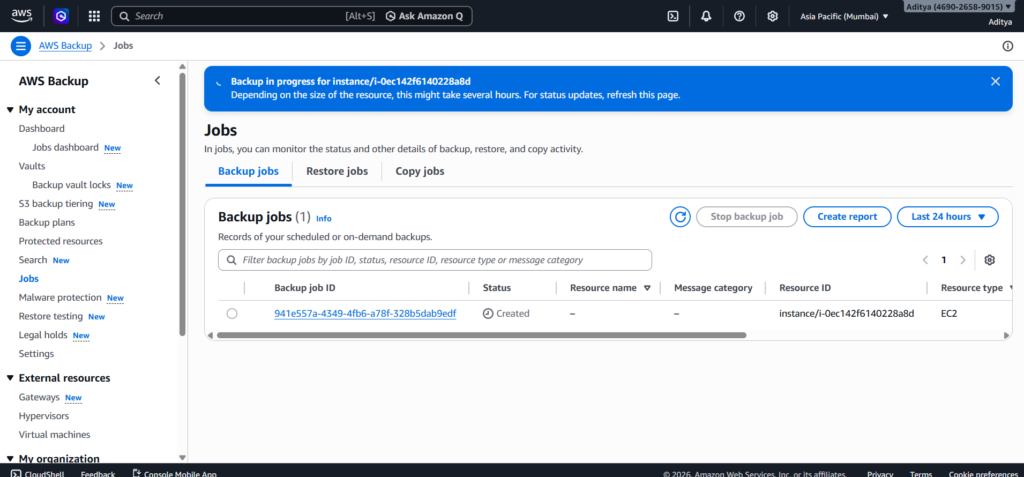
Running an On-Demand Backup
Although automated backups are configured, initiating a manual backup helps verify that everything works correctly.
Navigate to the protected resources section and locate your EC2 instance. From there, start an on-demand backup. AWS creates a snapshot of the instance and stores it in the backup vault.
The process takes a few minutes to complete. Once finished, the backup appears in the job list with a completed status, confirming that the configuration works as expected.
Why AWS Backup Matters
Managing backups manually becomes difficult as infrastructure grows. AWS Backup simplifies this by providing a centralized and automated solution. It reduces the risk of human error and ensures consistent protection across resources.
In practical scenarios, backups allow quick recovery from failures. Instead of rebuilding systems from scratch, you restore a previous state and resume operations with minimal downtime.
Final Thoughts
Setting up an EC2 instance is only the first step in building reliable infrastructure. Adding automated backups transforms a simple deployment into a resilient system.
This approach reflects real-world cloud practices, where availability and data protection are just as important as functionality. Once comfortable with backups, you can explore advanced features such as restoration, cross-region backups, and lifecycle policies to further strengthen your setup.
