From Heavy Images to Production-Ready Containers
In modern DevOps workflows, Docker image optimization is a critical practice. Specifically, this matters when container images grow beyond 500MB and slow down builds. Because containerization simplifies delivery, it is easy to forget that poorly designed images quickly become a bottleneck.
Therefore, this guide documents how to significantly reduce image size using multi-stage Docker builds. In addition, this practice is widely used in production. Furthermore, the focus is not just on the “how,” but also on why these optimizations matter. Consequently, developers can achieve much faster deployments.
The Problem: Why Large Docker Images Are a Risk
Initially, the team containerized the application using a single-stage Dockerfile. Although this approach was functional, it introduced several inefficiencies. To illustrate, consider the following issues:
- First, the final image included heavy build tools and compilers.
- As a result, the team shipped all dependencies—including unused ones—to production.
- Moreover, the final image size exceeded 500MB.
- Consequently, image pulls and deployments became slow.
Essentially, this setup works for experimentation but fails when teams scale across environments.
Example: Single-Stage Dockerfile Used Initially
dockerfile:
FROM node:18

WORKDIR /app

COPY package*.json ./
RUN npm install

COPY . .

EXPOSE 3000
CMD ["npm", "start"]
Why Single-Stage Dockerfiles Limit Docker Image Optimization
In a single-stage Dockerfile:
- The same image is used to build and run the application
- Development dependencies remain inside the final container
- The runtime environment becomes bloated
As a result, production containers contain far more than what is actually required to run the application.
This is where multi-stage builds solve the problem elegantly.
Understanding Docker Image Optimization with Multi-Stage Builds
Specifically, a multi-stage Docker build allows us to separate the build environment from the runtime environment. By doing this, we can use different base images for each stage. Then, the developer copies only the required build artifacts into the final image.
In simple terms: Build everything in one container, but ship only what you need. Clearly, this approach dramatically reduces image size while keeping the Dockerfile clean.
Optimized Multi-Stage Dockerfile
# -------- Build Stage --------
FROM node:18 AS builder

WORKDIR /app

COPY package*.json ./
RUN npm install

COPY . .
RUN npm run build

# -------- Runtime Stage --------
FROM node:18-slim

WORKDIR /app

COPY --from=builder /app/dist ./dist
COPY --from=builder /app/package*.json ./

RUN npm install --only=production

EXPOSE 3000
CMD ["node", "dist/index.js"]
Optimization Strategy for Docker Image Optimization
Overall, the image optimization process follows three core principles.
First, you must separate build and runtime stages. For instance, the build stage includes compilers and tools, while the runtime stage includes only the application. Second, you should use minimal base images. Specifically, lightweight images like Alpine reduce overhead. Third, you must copy only production artifacts. Consequently, only the compiled output moves forward to the final stage.
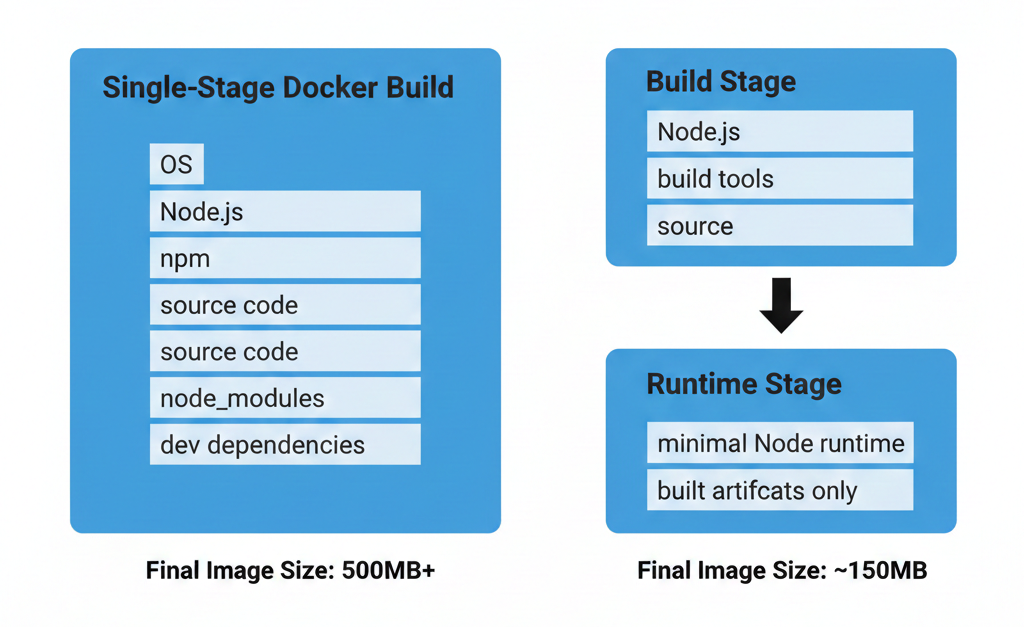
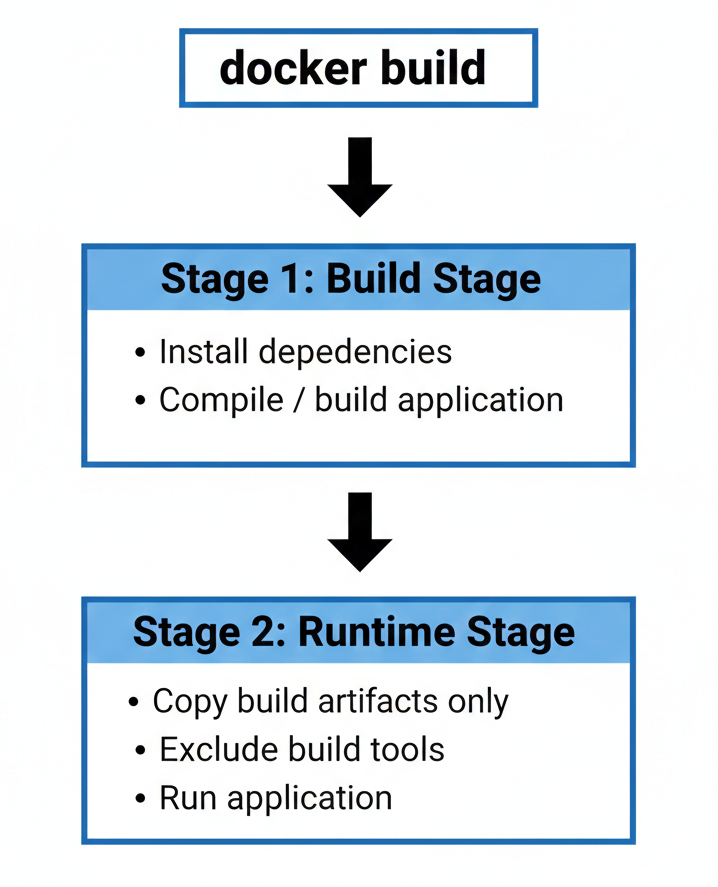
Multi-Stage Dockerfile Architecture
The optimized Dockerfile uses two stages:
Build Stage
- Installs all dependencies
- Builds the application
- Produces production-ready artifacts
Runtime Stage
- Uses a minimal base image
- Receives only the compiled output
- Excludes build tools and dev dependencies
This ensures the final container is lean, secure, and efficient.
Image Size Comparison After Docker Image Optimization
Docker Image Size Verification
After applying multi-stage builds, the difference is immediately visible.
docker images
#Running this command confirms the dramatic reduction in image size after optimization.| Dockerfile Type | Approximate Image Size |
|---|---|
| Single-stage | 500MB+ |
| Multi-stage | 120–180MB |
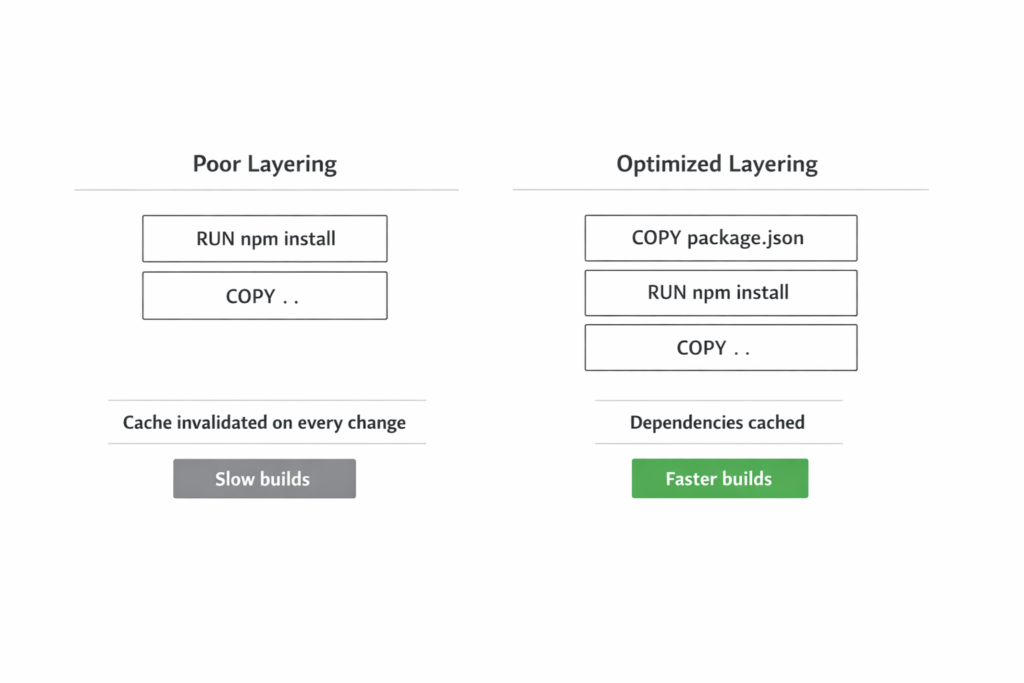
What Changed?
- Build tools were removed from production
- Dependency footprint was reduced
- Image layers became more efficient
This reduction improves both developer experience and deployment speed.
Deploying Optimized Images Using Docker Compose
Once the optimized image is built, Docker Compose is used to deploy the application consistently across environments.
Docker Compose ensures:
- Reproducible builds
- Simple start and stop commands
- Easy log inspection
- Clean service management
Docker Compose Configuration
version: "3.8"

services:
  app:
    build: .
    ports:
      - "3000:3000"
The application can now be built and launched using a single command:
docker-compose up -d --build
This confirms that optimization does not complicate deployment—it improves it.
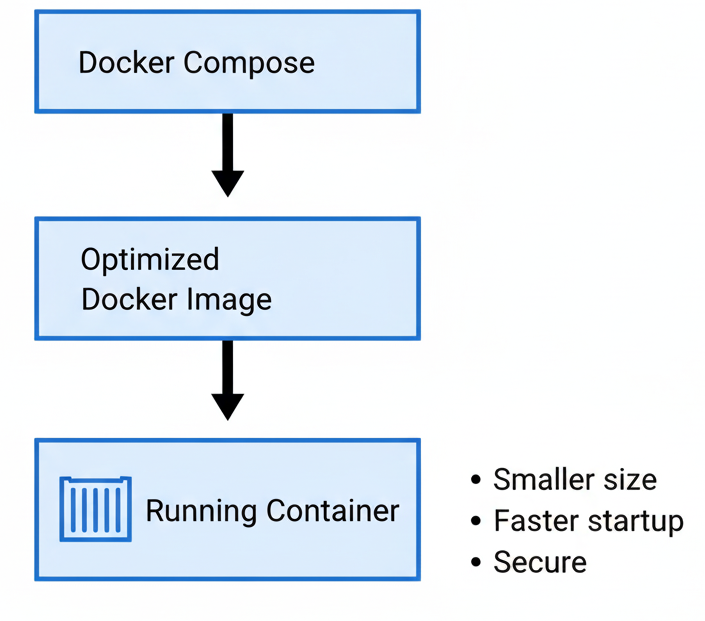
Operational Benefits of Docker Image Optimization
Optimizing Docker image size provides real operational advantages:
🚀 Faster Builds
Smaller images build and pull faster, especially in CI/CD pipelines.
🌐 Faster Deployments
Reduced image size lowers network transfer time across environments.
💰 Lower Storage Costs
Less disk space is required on registries and servers.
🔐 Improved Security
Fewer tools in production images reduce the attack surface.
Best Practices for Production-Ready Docker Images
This task reinforces several industry best practices:
- Always separate build and runtime concerns
- Avoid shipping development tools to production
- Prefer minimal base images
- Treat Dockerfiles as production artifacts, not experiments
These practices are standard in professional DevOps teams.
Final Reflection
Docker image optimization is not a cosmetic improvement—it is a core production concern. Multi-stage builds allow teams to ship smaller, faster, and more secure containers without sacrificing functionality.
This task demonstrates a DevOps mindset:
- Efficiency over convenience
- Automation over manual steps
- Production-readiness over experimentation
Mastering these concepts early builds a strong foundation for advanced workflows such as CI/CD pipelines and Kubernetes deployments.
