
Introduction
Nginx deployment on AWS EC2 is one of the most practical skills in modern cloud infrastructure. In this guide, you’ll walk through a complete Nginx deployment on AWS EC2 using Ubuntu, and learn how to perform a live backup while the server keeps running — with zero downtime. By the end, you’ll have a fully working Nginx deployment on AWS EC2 setup, a compressed backup of your web files, and a tested restore process ready for real production use.
01
Create an EC2 Instance
Your virtual server in the cloud (AWS EC2 official documentation)
An EC2 (Elastic Compute Cloud) instance is a virtual machine hosted on AWS infrastructure. We’ll launch an Ubuntu Server instance — a stable, widely-supported Linux distribution ideal for running web servers.
Instance Configuration
| Setting | Value | Purpose |
|---|---|---|
| AMI | Ubuntu Server 22.04 LTS | Operating system |
| Instance type | t2.micro (free tier) | 1 vCPU, 1 GB RAM |
| Security Group — Port 22 | SSH | Remote terminal access |
| Security Group — Port 80 | HTTP | Public web traffic |
| Key Pair | .pem file (download & keep safe) | SSH authentication |
Once your instance is running, connect to it via SSH from your local terminal. Replace the values with your actual key file path and EC2 public IP address.
Bash — SSH Connection
# Set correct permissions on your key file (required by SSH)
chmod 400 your-key.pem

# Connect to your EC2 instance
ssh -i your-key.pem ubuntu@<your-public-ip>
Security Note
Keep your .pem key file private. Never commit it to version control or share it publicly. In production environments, consider AWS Systems Manager Session Manager for keyless, auditless access.
02
Install & Configure Nginx
Get the web server up and running
Nginx is a high-performance, open-source web server known for its efficiency under high traffic loads. Install it via APT and configure it to start automatically on every system reboot.
Bash — Install Nginx official Nginx documentation
# Refresh the package index
sudo apt update

# Install Nginx
sudo apt install nginx -y

# Start the Nginx service immediately
sudo systemctl start nginx

# Enable auto-start on every system reboot
sudo systemctl enable nginx

# Confirm the service is running
sudo systemctl status nginx
Expected Output
● nginx.service - A high performance web server
     Active: active (running)
The active (running) status confirms Nginx is listening on port 80. Visit your EC2’s public IP in a browser — you should see the Nginx default welcome page.
03
Deploy Your Web Page
Serve your first HTML file
By default, Nginx serves files from /var/www/html. We’ll replace the default content with our own HTML page to verify the full deployment pipeline is working correctly.
Bash — Deploy Sample Page
# Navigate to the web root directory
cd /var/www/html

# Write a simple HTML page using tee (allows sudo file write)
echo "<h1>My Nginx App</h1>" | sudo tee index.html

# Verify the file was written correctly
cat index.html
Open a browser and navigate to your EC2 public IP:
Browser URL
http://<your-ec2-public-ip>
If the heading renders successfully, Nginx is fully operational and your deployment is live.

04
Take a Live (Hot) Backup
Archive everything — without stopping the server
A hot backup is performed while the system is fully operational. Unlike a cold backup (which requires shutting down the service), a hot backup captures all data without dropping a single HTTP request.
We use tar — a standard Unix archiving utility — to bundle the entire web root into a single compressed file.
Bash — Create Backup Archive
# Create a gzip-compressed archive of /var/www/html
# Nginx continues serving traffic throughout this process
sudo tar -czvf nginx_backup.tar.gz /var/www/html

# Confirm the archive was created and check its size
ls -lh nginx_backup.tar.gz

Flag Reference — tar (create)
-c
Create a new archive
-z
Compress using gzip
-v
Verbose — list files as archived
-f
Specify the output filename
Why Zero Downtime?
tar reads files directly from the filesystem without acquiring exclusive locks. Nginx processes continue to handle incoming HTTP requests throughout the entire operation. The backup is completely transparent to your users.
05
Test: Simulate Loss & Restore
Validate that your backup actually works
A backup is only valuable if you can reliably restore from it. We’ll deliberately delete the web content, confirm the site is broken, then restore from the archive — proving full recovery works.
Bash — Simulate Data Loss
# Delete all files in the web root
sudo rm -rf /var/www/html/*

# Confirm the directory is now empty
ls /var/www/html/
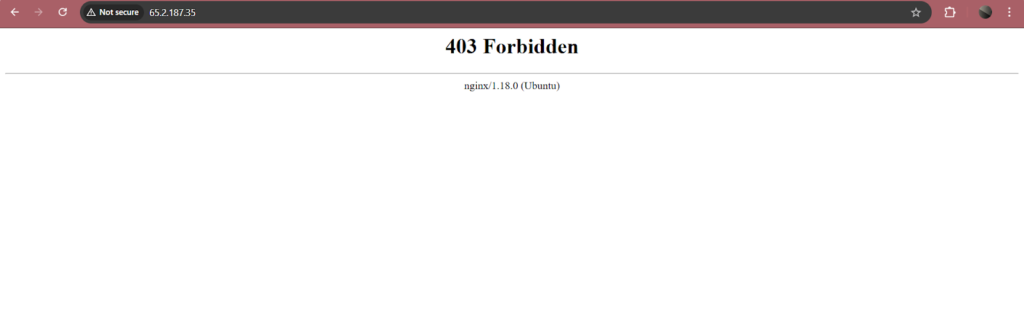
Reload your browser — the site will return a 403 or blank page. Now restore from the backup:
Bash — Restore from Backup
# Extract the archive, restoring files to their original paths
sudo tar -xzvf nginx_backup.tar.gz -C /

# Verify files are back in place
ls -lh /var/www/html/

Flag Reference — tar (extract)
-x
Extract files from archive
-z
Decompress with gzip
-v
Show each file as restored
-C /
Restore to original full paths
Refresh your browser — the page should load exactly as before. The -C / flag is key: because the archive preserves the full path var/www/html/, extracting to / places the files precisely back at their original location.
Results
Nginx deployed on AWS EC2
Web page served via public IP
Live backup — zero downtime
Full restore verified
Conclusion
This project demonstrates the fundamentals of production-grade web server management: deploying Nginx on AWS EC2, serving content over the public internet, and maintaining service continuity through hot backups.
Using tar, we created a compressed archive of critical web files while Nginx continued handling live traffic — exactly how real-world DevOps and SRE teams operate. As next steps, consider automating backups with a cron job, shipping archives to Amazon S3 for offsite durability, or extending this pattern to cover stateful services like databases using mysqldump or pg_dump.
Written by Deekshitha R
LinkedIn: www.linkedin.com/in/deekshitha-raveendran-31581527b
