Introduction
Managing a production database means one thing above all else — your data must always be safe, and your service must always be available.
In this guide, you’ll walk through a complete MySQL setup on AWS EC2, including creating multiple databases, inserting real data, and performing a live backup using mysqldump — all without stopping the MySQL service for even a second. We’ll also simulate a real data loss scenario and restore everything from the backup, so you can trust this process when it matters most.
Whether you’re a developer setting up your first cloud database or a DevOps engineer building a reliable backup strategy, this step-by-step tutorial gives you a production-ready MySQL workflow on AWS EC2 that you can apply immediately.
First, we will install MySQL on an AWS EC2 instance. Next, we will create databases and tables. Then, we will insert sample data. Finally, we will perform a live backup and restore everything to verify it works.
Step 1: Install MySQL on Your AWS EC2 Instance
The first step in any MySQL setup on AWS EC2 is installing and securing the database server. Connect to your EC2 instance via SSH, then run the following commands to install MySQL, start the service, and enable it to auto-start on every reboot.
# Update package list
sudo apt update

# Install MySQL server
sudo apt install mysql-server -y

# Start MySQL service
sudo systemctl start mysql

# Enable auto-start on boot
sudo systemctl enable mysql

# Run the security hardening script
sudo mysql_secure_installation
The mysql_secure_installation script walks you through removing test databases, disabling remote root login, and setting a strong root password — all essential steps before using MySQL in any real environment.
Once complete, log in to the MySQL shell to confirm everything is working:
sudo mysql -u root -pExpected output: The MySQL prompt mysql> confirms the server is running and accessible.
Step 2: Create Databases for MySQL AWS EC2 Deployment
A database organizes related data into one logical container. We’ll create three separate databases to simulate a real-world multi-application environment — one for company data, one for student records, and one for project tracking.
CREATE DATABASE company_db;
CREATE DATABASE student_db;
CREATE DATABASE project_db;

SHOW DATABASES;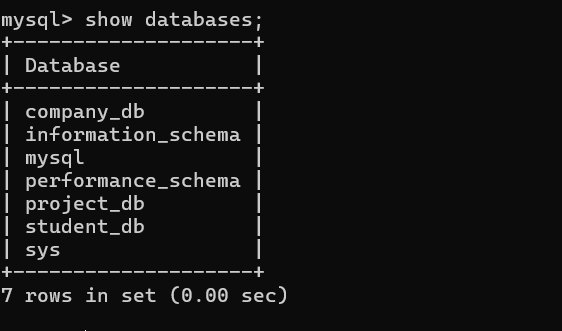
Running SHOW DATABASES should list all three alongside MySQL’s built-in system databases. This confirms your databases are created and ready to use.
Step 3: Create Tables
Now we’ll create the tables inside each database. Tables define the structure of your data — columns, data types, and relationships.
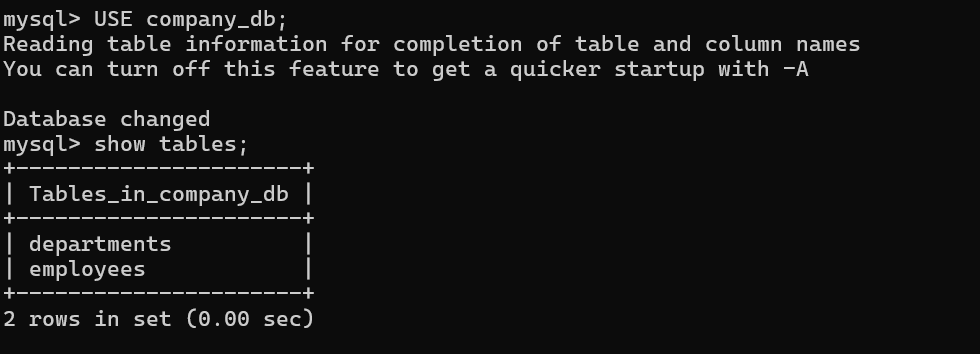
company_db
USE company_db;

CREATE TABLE employees (
  id INT AUTO_INCREMENT PRIMARY KEY,
  name VARCHAR(50),
  role VARCHAR(50)
);

CREATE TABLE departments (
  id INT AUTO_INCREMENT PRIMARY KEY,
  dept_name VARCHAR(50)
);
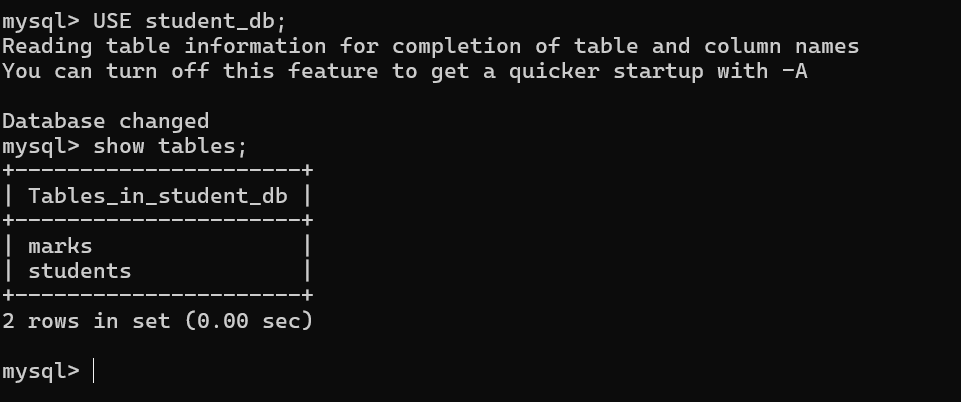
student_db
USE student_db;

CREATE TABLE students (
  id INT AUTO_INCREMENT PRIMARY KEY,
  name VARCHAR(50),
  course VARCHAR(50)
);

CREATE TABLE marks (
  id INT AUTO_INCREMENT PRIMARY KEY,
  student_id INT,
  score INT
);
project_db
USE project_db;

CREATE TABLE projects (
  id INT AUTO_INCREMENT PRIMARY KEY,
  project_name VARCHAR(50),
  status VARCHAR(50)
);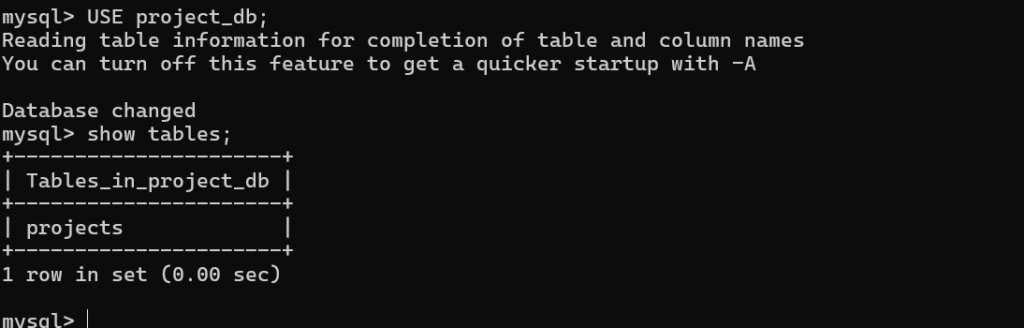
You now have 5 tables spread across 3 databases — a realistic structure that mirrors how real applications separate their data concerns.
Step 4: Insert Sample Data
With the tables in place, insert sample records into each database. This data serves as the benchmark — after backup and restore, we’ll verify these exact records come back intact.
INSERT INTO company_db.employees VALUES (1, 'John', 'Developer');

INSERT INTO student_db.students VALUES (1, 'Anna', 'CS');

INSERT INTO project_db.projects VALUES (1, 'DevOps', 'Running');
These three records — John the Developer, Anna studying CS, and a running DevOps project — will be your proof of a successful restore at the end of this guide.
Step 5: Live Backup of MySQL AWS EC2 Deployment Using mysqldump
This is the core of the guide. We use mysqldump — MySQL’s built-in backup utility — to export all databases into a single .sql file. The key advantage: MySQL keeps running throughout the entire process. No downtime, no dropped connections, no service interruption.
sudo mysqldump --all-databases > backup.sql
Verify the backup was created successfully:
ls -lh backup.sql
head -50 backup.sql
ls -lh shows the file size — a non-zero size confirms the export worked. head -50 prints the first 50 lines of the file, where you should see MySQL version information and the beginning of your database structure.
This is what makes mysqldump ideal for production environments — it captures a consistent snapshot of your data while the database continues serving application queries in the background.
Step 6: Simulate Data Loss
To properly test the restore process, we’ll deliberately delete all three databases. This simulates a real-world scenario — an accidental DROP, a failed migration, or a corrupted data directory.
Inside the MySQL shell:
DROP DATABASE company_db;
DROP DATABASE student_db;
DROP DATABASE project_db;

SHOW DATABASES;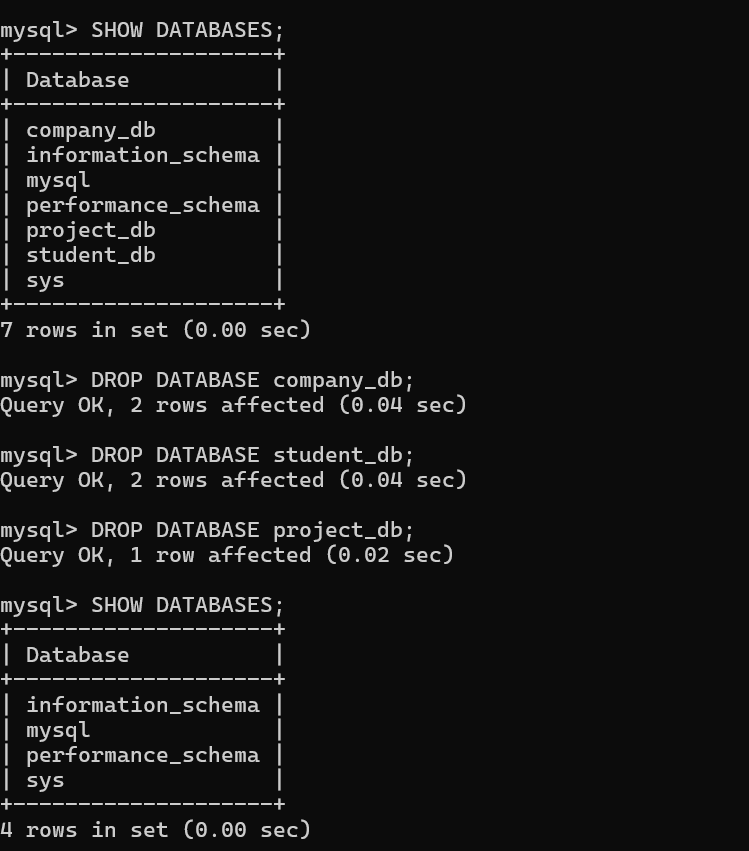
Running SHOW DATABASES now should show none of your three databases. All data is gone. This is the scenario your backup exists to solve.
Step 7: Restore Your MySQL AWS EC2 Deployment from Backup
Restoring from a mysqldump backup is a single command. MySQL reads the .sql file and re-executes every statement — recreating databases, rebuilding tables, and reinserting all data exactly as it was.
sudo mysql < backup.sql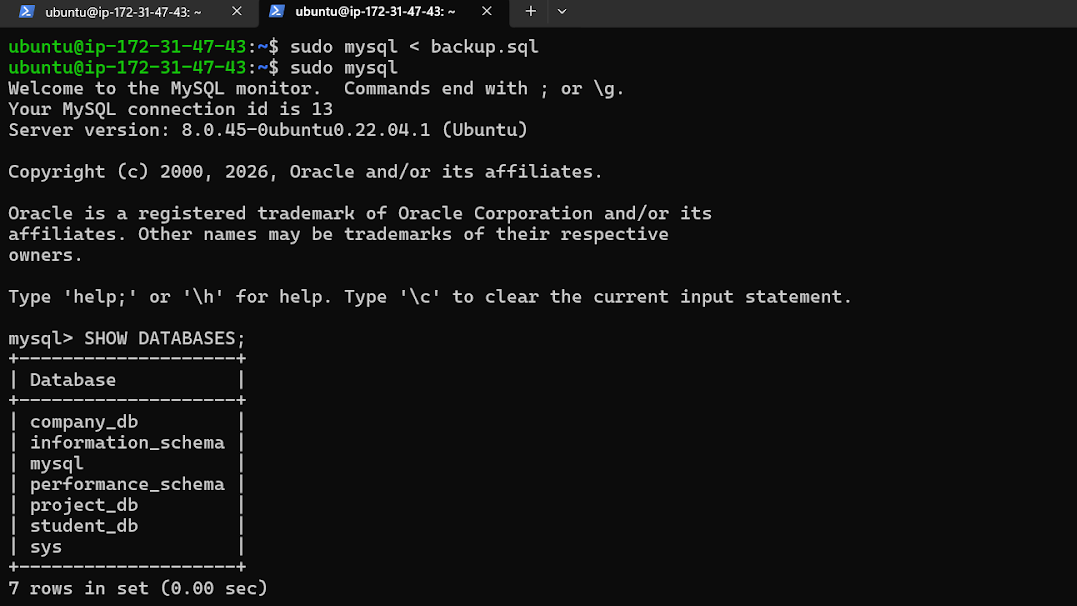
That’s it. The entire restore happens in one line. For larger databases this may take a few minutes, but for our setup it completes almost instantly.
Step 8: Verify the Restore
Log back into MySQL and confirm everything was restored correctly:
SHOW DATABASES;

USE company_db;
SELECT * FROM employees;

USE student_db;
SELECT * FROM students;

USE project_db;
SELECT * FROM projects;
Expected results:

If all three records appear exactly as inserted, your backup and restore process is fully verified and working correctly.
Conclusion
This project demonstrates how to manage a multi-database MySQL environment on AWS EC2 and protect it with a live backup strategy that requires absolutely no downtime.
Using mysqldump, you can safely export every database while MySQL continues handling application queries in the background. This approach — simple, reliable, and built into MySQL itself — is exactly what production teams use to meet backup requirements without impacting service availability.
As a next step, consider automating this backup using a cron job to run mysqldump on a schedule, and uploading the .sql file to Amazon S3 for offsite storage and long-term durability. Combined with the restore process covered here, that gives you a complete, production-grade database backup pipeline on AWS.
Written by Deekshitha R
LinkedIn: www.linkedin.com/in/deekshitha-raveendran-31581527b
