Introduction
Losing a job in Jenkins can disrupt your CI/CD pipeline and slow down development. However, recovery is possible if you understand how Jenkins stores its data.
In this guide, you will learn how to recover a deleted Jenkins job using practical methods. We will use an Amazon EC2 instance for setup, while keeping the recovery techniques independent of any cloud provider.
Understanding Where Jenkins Stores Jobs
Before starting recovery, you need to understand how Jenkins works internally. Each job is stored as files inside the Jenkins home directory.
These files include configuration data, build history, and workspace content. Therefore, if you can access these files, you can recover the job.
The default path is:
/var/lib/jenkins/jobs/<job_name>/
The most important file in this directory is config.xml. It defines the entire job configuration.
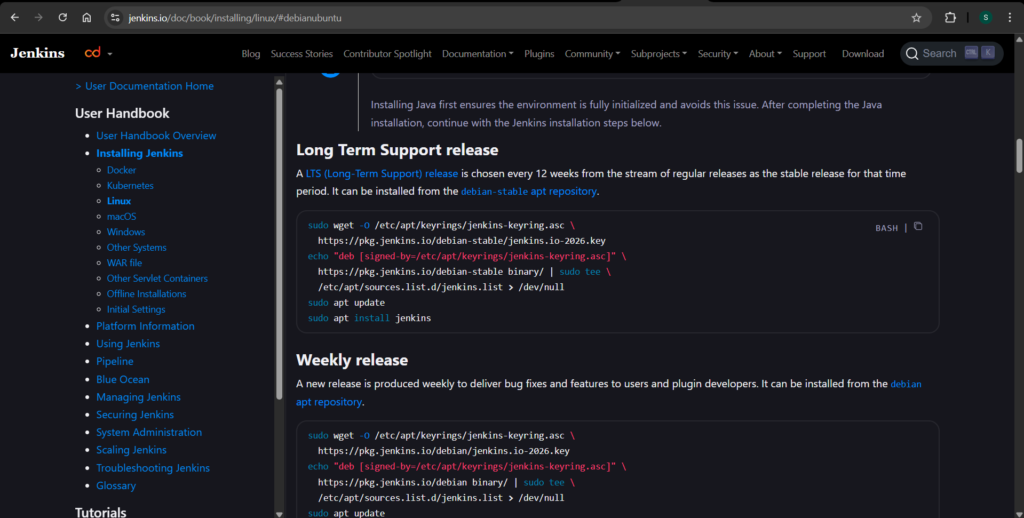
Setting Up Jenkins with Latest Java LTS
First, prepare your environment. Jenkins requires Java, and using the latest LTS version ensures stability.
Install Java 21:
sudo apt update
sudo apt install openjdk-21-jdk -y
Verify the installation:
java -version
Next, install Jenkins:
sudo apt install jenkins -y
After installation, start the service:
sudo systemctl start jenkins
sudo systemctl enable jenkins
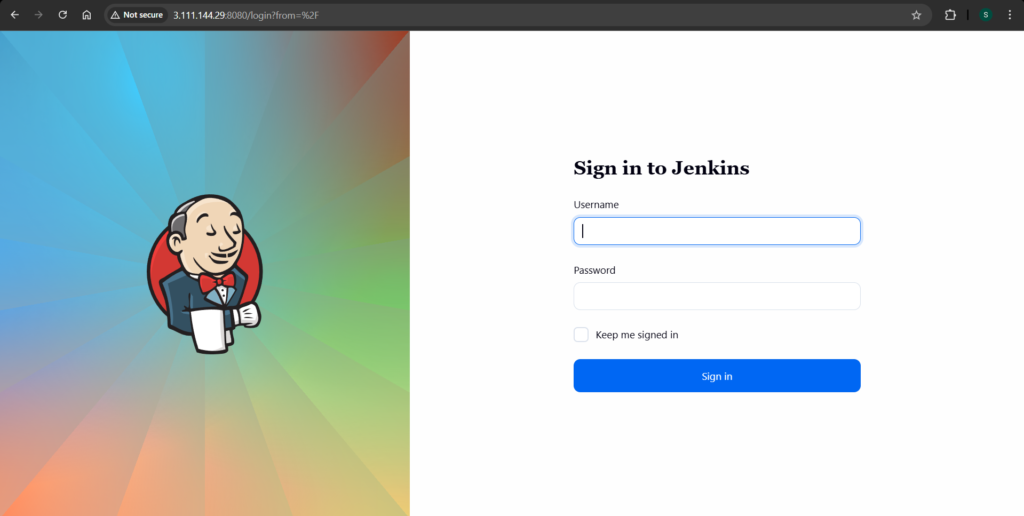
Then access Jenkins in your browser:
http://<EC2-IP>:8080
Creating a Sample Job
Now create a simple job to simulate a real scenario. This step helps you understand recovery in practice.
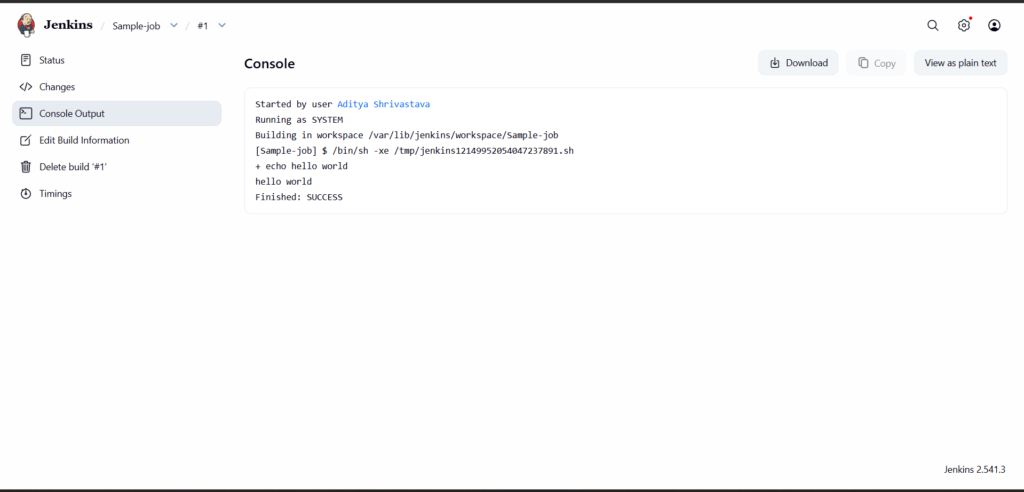
Create a freestyle project named demo-job. Add a build step that runs a shell command.
echo "Hello DevOps"
Run the job once to confirm that it works correctly.
Simulating Job Deletion
To test recovery, delete the job. You can remove it from the Jenkins UI or directly from the server.
sudo rm -rf /var/lib/jenkins/jobs/demo-job
After that, restart Jenkins to apply the change.
sudo systemctl restart jenkins
At this stage, the job disappears from the dashboard.
Method 1: Recover Jenkins Job Using Backup
This method works best when a backup exists. Before deletion, copy the job directory to a safe location:
sudo cp -r /var/lib/jenkins/jobs/demo-job /home/ubuntu/demo-job-backup
After deletion, restore the job by copying it back:
sudo cp -r /home/ubuntu/demo-job-backup /var/lib/jenkins/jobs/demo-job
Next, fix permissions so Jenkins can access the files:
sudo chown -R jenkins:jenkins /var/lib/jenkins/jobs/demo-job
Restart Jenkins:
sudo systemctl restart jenkins
The job reappears with its configuration and build history intact. This approach is reliable and widely used in production.

Method 2: Recover Jenkins Job Using config.xml
In some situations, backups are not available. Even then, you can recover the job using the config.xml file.
Start by recreating the job directory:
sudo mkdir /var/lib/jenkins/jobs/demo-job
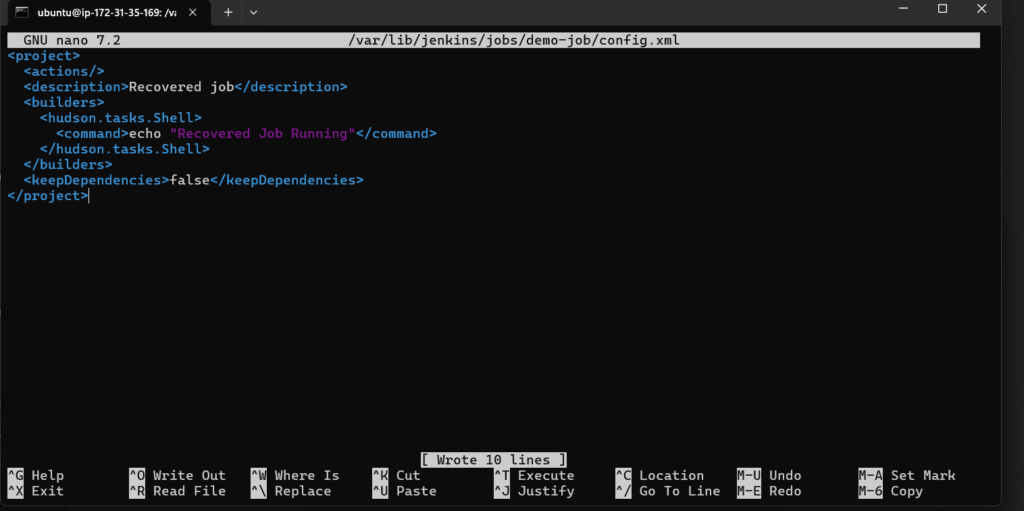
Then create the configuration file:
sudo nano /var/lib/jenkins/jobs/demo-job/config.xml
Paste the following minimal configuration:
<project>
  <actions/>
  <description>Recovered job</description>
  <builders>
    <hudson.tasks.Shell>
      <command>echo "Recovered Job Running"</command>
    </hudson.tasks.Shell>
  </builders>
  <keepDependencies>false</keepDependencies>
</project>
After saving the file, update ownership:
sudo chown -R jenkins:jenkins /var/lib/jenkins/jobs/demo-job
Restart Jenkins:
sudo systemctl restart jenkins
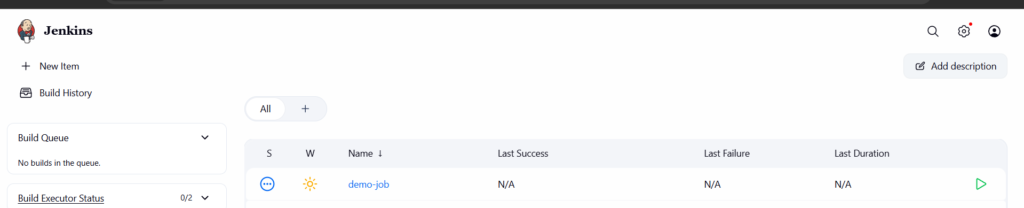
The job will appear again in the dashboard. Although previous builds are not restored, the job becomes functional.
Why These Methods Work
Jenkins stores jobs as filesystem data rather than database entries. Because of this design, direct file manipulation allows recovery.
As a result, even when the user interface cannot help, the underlying file structure provides full control.
Best Practices to Prevent Job Loss
To reduce risk, maintain regular backups of the Jenkins home directory. Additionally, store pipeline configurations in version control systems such as Git.
Furthermore, use plugins that track job configuration changes. These tools simplify recovery and improve reliability.
Conclusion
Recovering a deleted Jenkins job becomes straightforward once you understand how Jenkins stores its data.
In this guide, you implemented two effective methods. First, you restored a job from a backup. Then, you recreated a job using its configuration file.
Therefore, even in critical situations, you can regain control of your CI/CD pipeline without relying on cloud-specific solutions.
