Introduction
Data loss can happen at any time, especially in production systems. This guide explains PostgreSQL disaster recovery on AWS EC2 using practical, step-by-step methods. You will learn how to recover deleted data using both simple backups and advanced techniques.
By the end of this tutorial, you will understand how to protect your database and restore it after failure in real-world scenarios.
Environment Setup
Before starting, ensure your EC2 instance is ready.
Install PostgreSQL:
sudo apt update
sudo apt install postgresql postgresql-contrib -y
Start the service:
sudo systemctl start postgresql
sudo systemctl enable postgresql
At this stage, PostgreSQL runs in the background and is ready to accept connections.
Creating a Sample Database
Connect to PostgreSQL:
sudo -u postgres psql
Create a database:
CREATE DATABASE testdb;
Now switch to it:
\c testdb
This step is important because all further operations will happen inside this database.
Create a table:
CREATE TABLE users (
    id SERIAL PRIMARY KEY,
    name TEXT
);
Insert sample data:
INSERT INTO users (name) VALUES ('Alice'), ('Bob'), ('Charlie');Verify the data:
SELECT * FROM users;
At this point, your database contains actual data. This allows you to simulate a real disaster later.

Method 1: Backup and Restore Using pg_dump
This method creates a logical backup. It stores SQL statements that can rebuild your database.
Why this method matters
Logical backups are simple and portable. You can move them between servers easily. However, they only capture data at the moment you take the backup.
Step 1: Create a Backup
Exit PostgreSQL:
\q
Now run:
sudo -u postgres pg_dump testdb > testdb_backup.sql
This command does the following:
- Connects to the database
- Extracts schema and data
- Saves everything as SQL statements
The output file contains commands like CREATE TABLE and INSERT.

Step 2: Simulate Data Loss
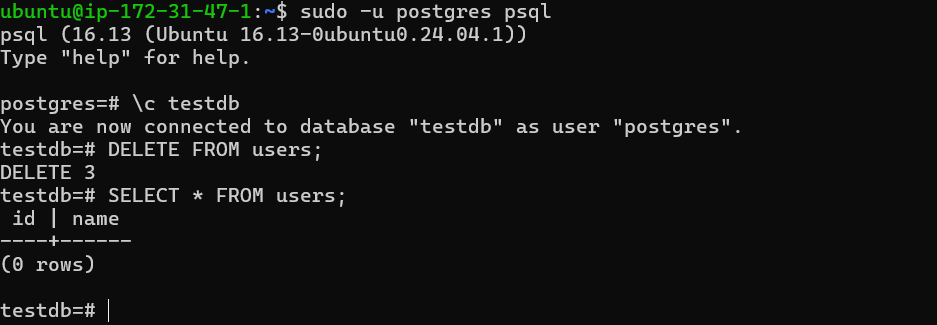
Reconnect to PostgreSQL:
sudo -u postgres psql
\c testdb
DELETE FROM users;
SELECT * FROM users;
Here, you intentionally delete all rows. This simulates a real mistake.
Step 3: Restore the Backup
Exit PostgreSQL:
\q
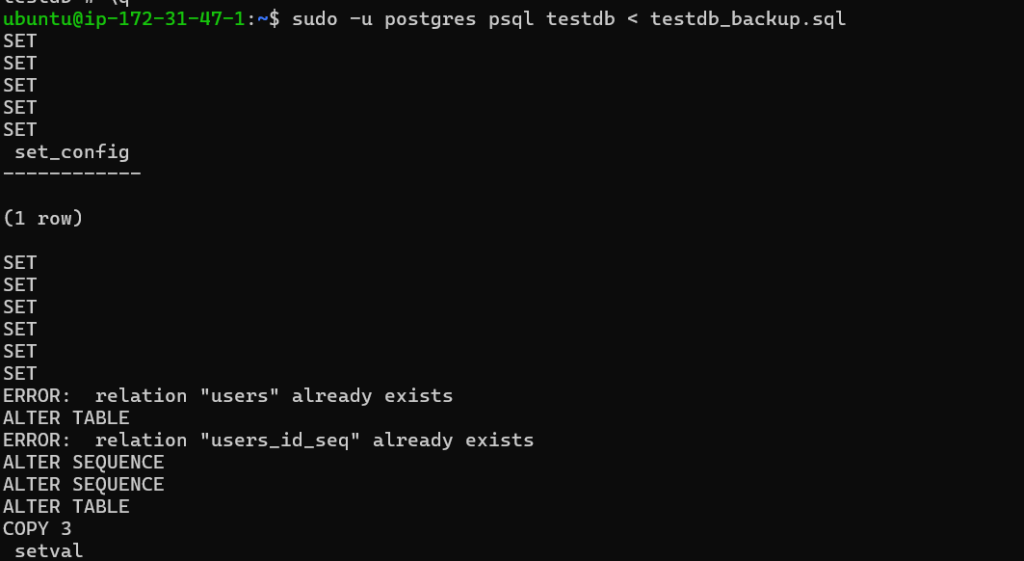
Run:
sudo -u postgres psql testdb < testdb_backup.sql
This command replays the SQL statements stored in the backup file.
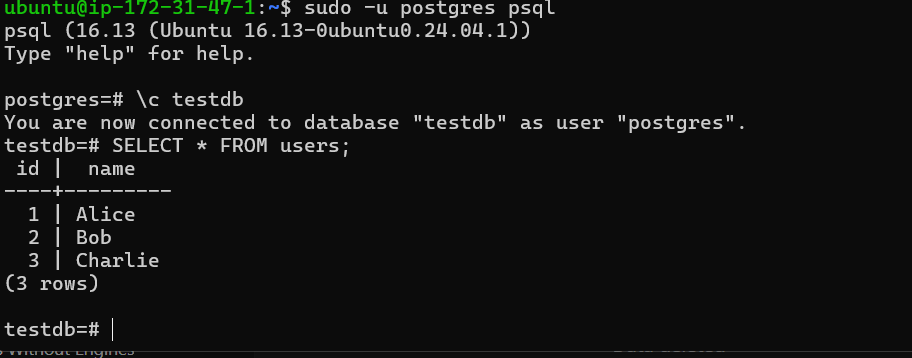
Step 4: Verify Recovery
sudo -u postgres psql
\c testdb
SELECT * FROM users;
If everything works correctly, your original data will reappear.
Method 2: Point-In-Time Recovery (PITR) Using WAL Logs
This method is more advanced. It allows you to restore your database to a specific moment in time.
Why PITR is powerful
PostgreSQL continuously records all changes in WAL (Write-Ahead Logs). These logs allow you to replay database activity and recover lost data precisely.
Step 1: Enable WAL Archiving
Open the configuration file:
sudo nano /etc/postgresql/16/main/postgresql.conf

Add or modify:
wal_level = replica
archive_mode = on
archive_command = 'cp %p /var/lib/postgresql/wal_archive/%f'
Explanation:
wal_level = replicaenables detailed loggingarchive_mode = onallows saving WAL filesarchive_commanddefines where logs are stored
Step 2: Create Archive Directory
sudo mkdir -p /var/lib/postgresql/wal_archive
sudo chown postgres:postgres /var/lib/postgresql/wal_archive
This directory will store WAL files. Without it, recovery will not work.
Step 3: Restart PostgreSQL
sudo systemctl restart postgresql
This applies the configuration changes.
Step 4: Take a Base Backup
sudo -u postgres pg_basebackup -D /var/lib/postgresql/base_backup -Fp -Xs -P
This command creates a full copy of the database.
Think of this as a starting point. WAL logs will later replay changes on top of it.
Step 5: Insert New Data
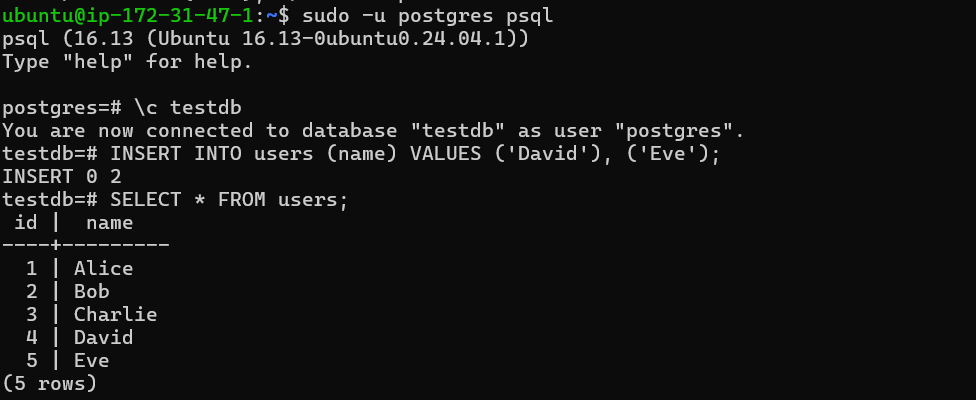
sudo -u postgres psql
\c testdb
INSERT INTO users (name) VALUES ('David'), ('Eve');
SELECT * FROM users;
Now your database has additional records.
Step 6: Record Time
SELECT now();
This timestamp is critical. It defines where recovery will stop.
Step 7: Simulate Disaster
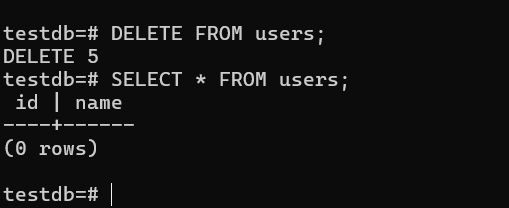
DELETE FROM users;
SELECT * FROM users;
All data is now gone.
Step 8: Restore Base Backup
Stop PostgreSQL:
sudo systemctl stop postgresql
Clear current data:
sudo rm -rf /var/lib/postgresql/16/main/*
Restore backup:
sudo cp -r /var/lib/postgresql/base_backup/. /var/lib/postgresql/16/main/
Fix permissions:
sudo chown -R postgres:postgres /var/lib/postgresql/16/main/
Step 9: Configure Recovery
sudo nano /var/lib/postgresql/16/main/postgresql.auto.conf
Add:
restore_command = 'cp /var/lib/postgresql/wal_archive/%f %p'
recovery_target_time = '2026-04-05 11:00:00'
Explanation:
restore_commandfetches WAL filesrecovery_target_timetells PostgreSQL when to stop replay
Create recovery signal:
sudo -u postgres touch /var/lib/postgresql/16/main/recovery.signal
Step 10: Start PostgreSQL
sudo pg_ctlcluster 16 main start
During startup, PostgreSQL enters recovery mode and replays WAL logs.
Step 11: Verify Recovery
sudo -u postgres psql
\c testdb
SELECT * FROM users;
You should see data restored up to the chosen time.
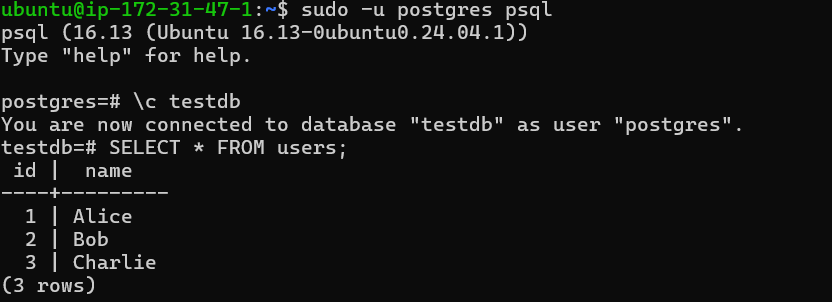
Key Insight
If you set the recovery time before inserting “David” and “Eve”, those records will not appear. This proves that PITR restores data precisely to a specific moment.
Conclusion
You implemented two powerful recovery techniques in PostgreSQL. The first method used logical backups for simplicity. The second method used WAL logs for precise recovery.
In real systems, both methods are used together. Regular backups provide safety, while PITR ensures accuracy.
This combination creates a strong disaster recovery strategy.
